vRealize Suite 2019 – Part 2: Configuring VMware Identity Manager
Intro
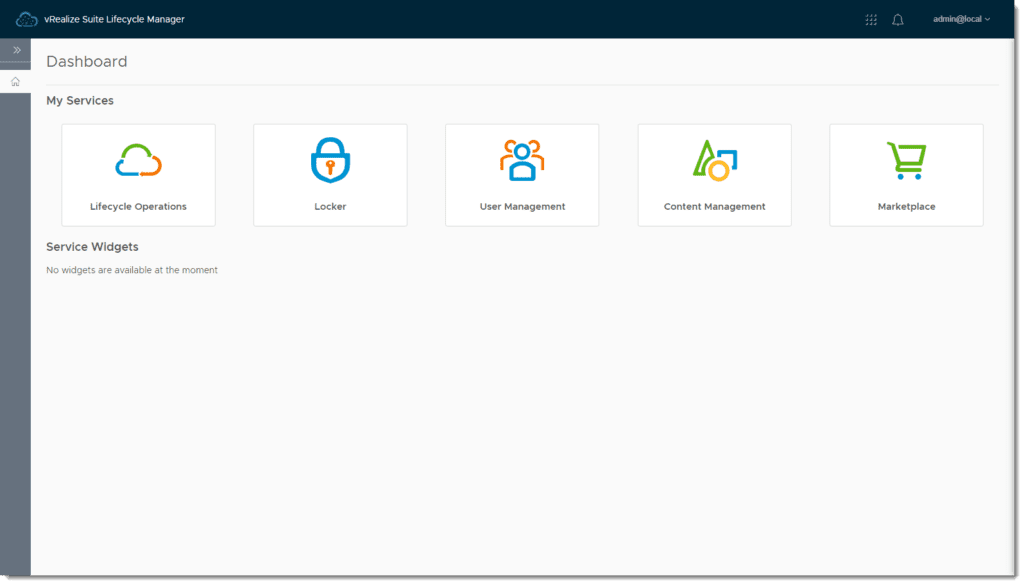
In my previous post, I covered how to install vRealize Suite Lifecycle Manager 8.0 and in the process it also deployed an instance of VMware Identity Manager aka Workspace One Access, which is a requirement for installing vRealize Automation 8.0. I opted to skip the deployment of the latter as to keep focus on the deployment of LCM only.
In this post, I’ll cover how to configure VMware Identity Manager to support Active Directory Authentication for the vRealize Suite solutions
Procedure
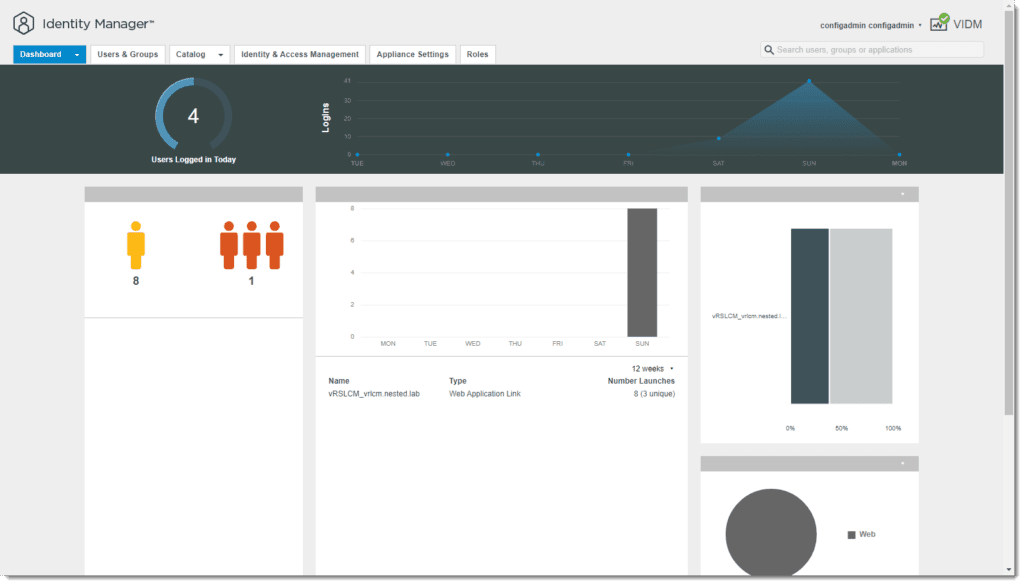
- Log in to VMware Identity Manager and then access the Administration Console.
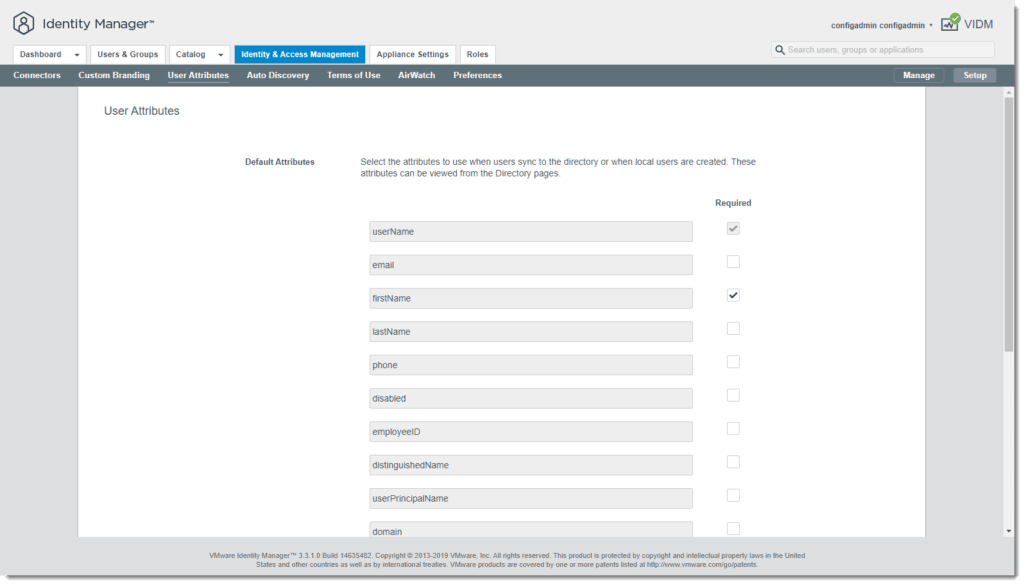
- Click Identity & Access Management, then click Setup > User Attributes.
- I elected to only require the AD account to have a Username and a First Name, so I unchecked all other options. This is optional and shouldn’t be done in Production environments. The more security the better!
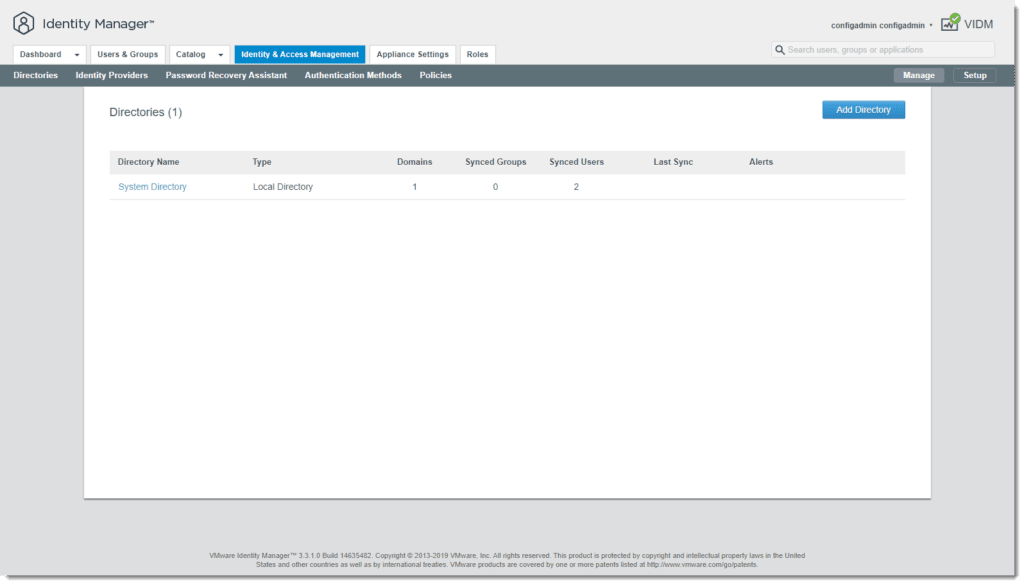
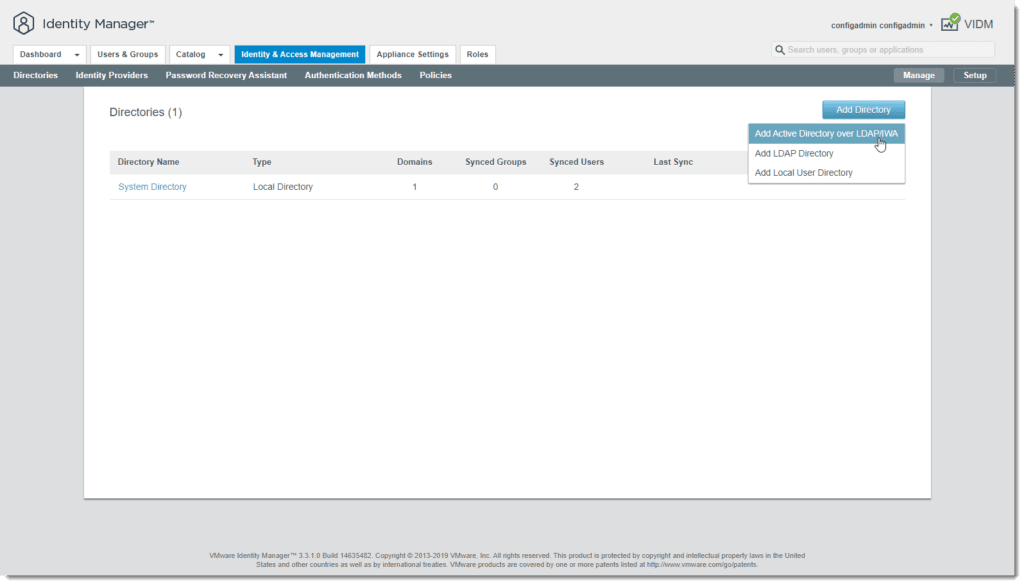
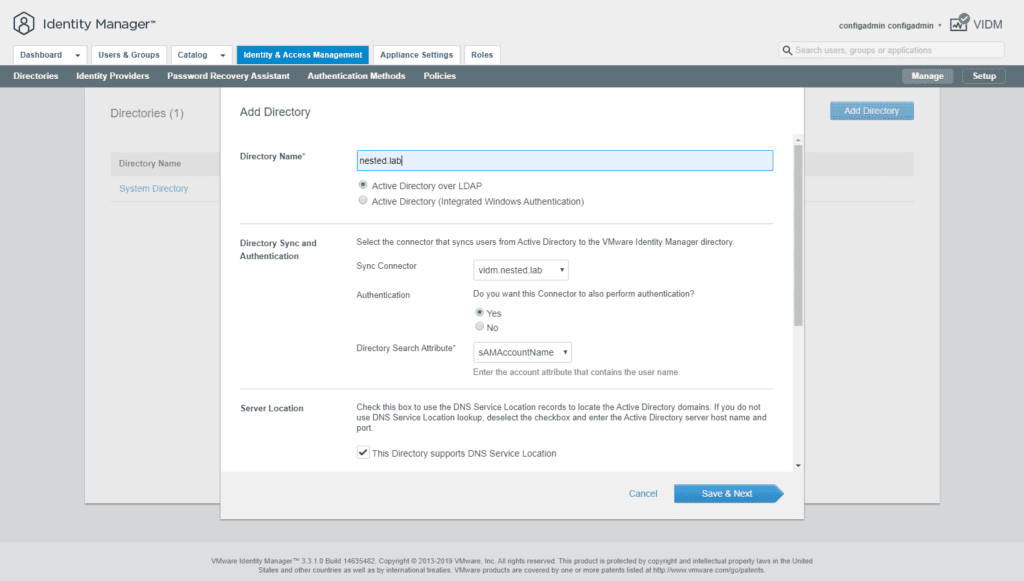
- Click Manage, then click Add Directory > Add Active Directory over LDAP/IWA
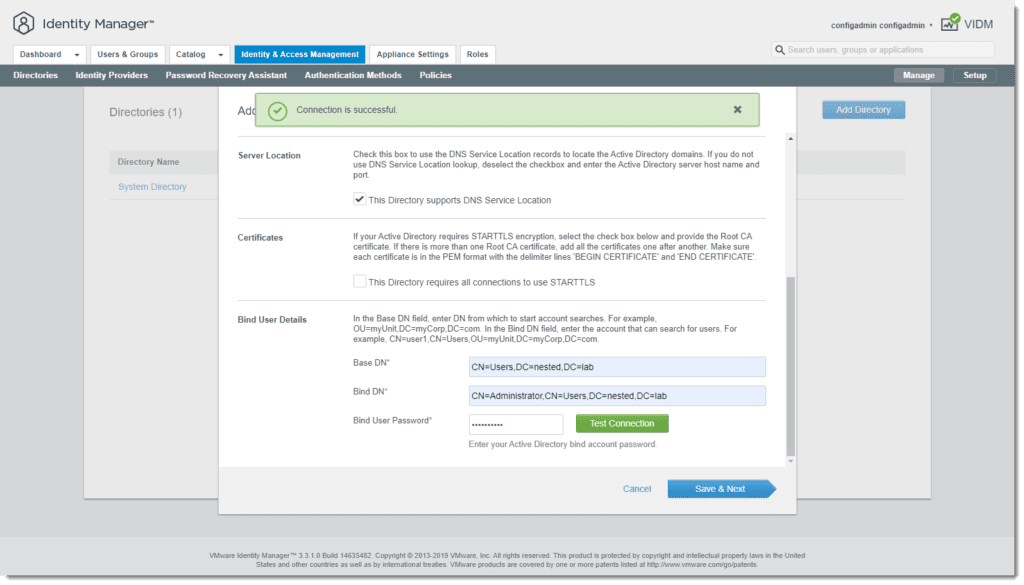
- Provide a Directory Name, Base DN, Bind DN, and Bind User Password then click Test Connection. If it is Successful, click Save & Next.
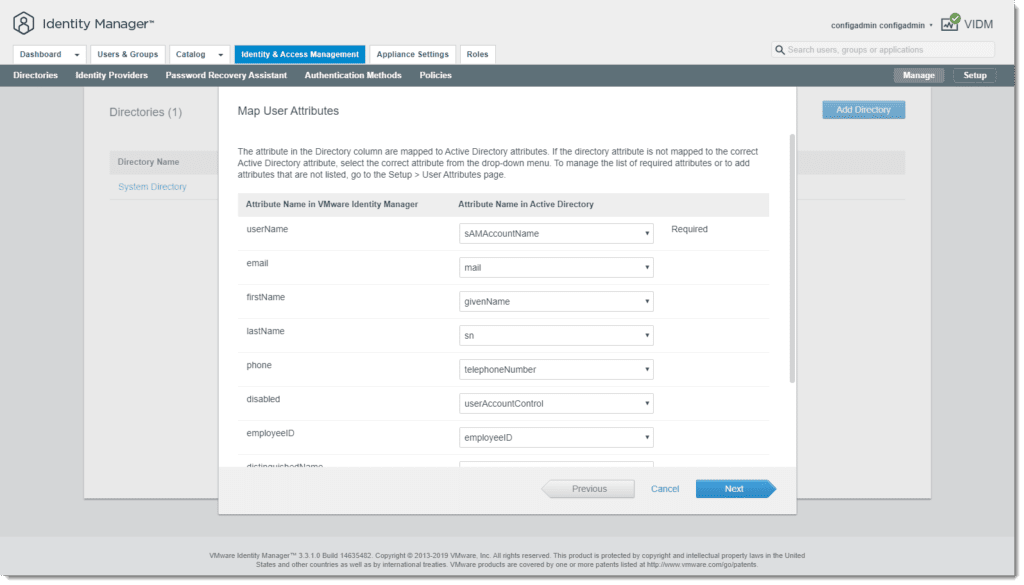
- Select any domains that you’d like to add then click Next > Next.
- This was already selected and is unable to be unchecked.

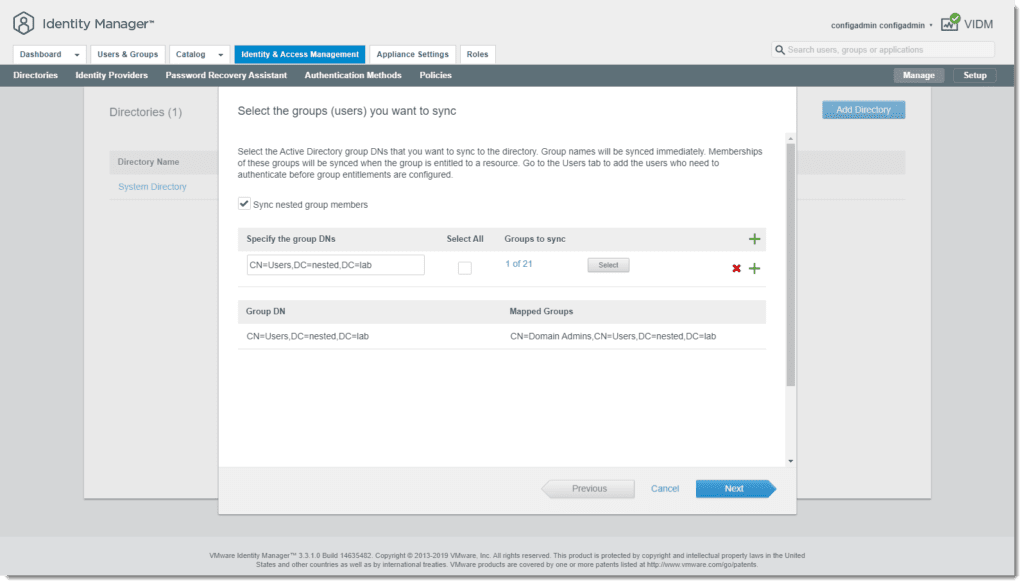
- Add the group DNs and either check Select All box or click the Select button to add any Groups that are to be synchronized with VMware Identity Manager, then click Next.
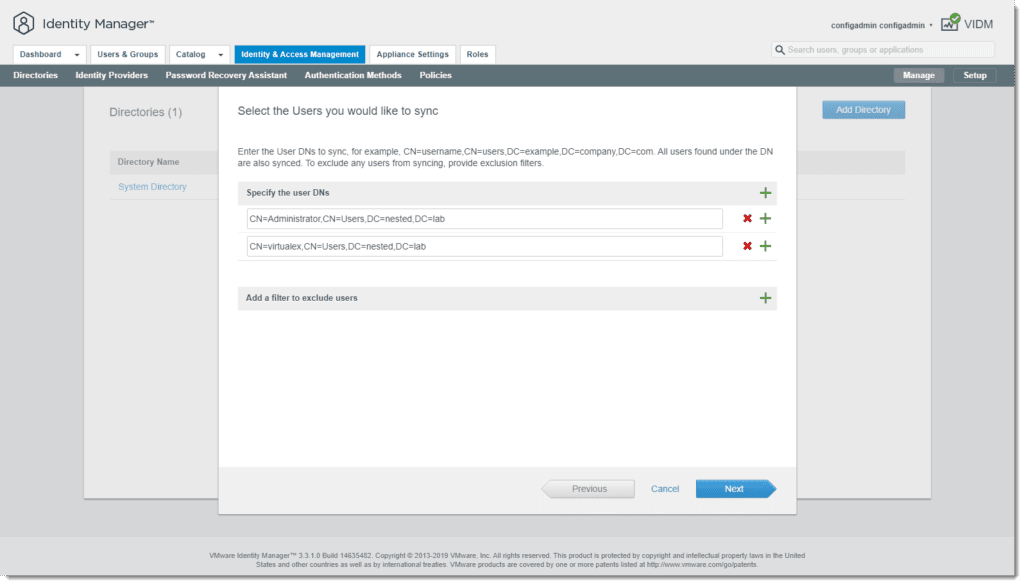
- Add any user DNs that are to be synced as well and click Next.
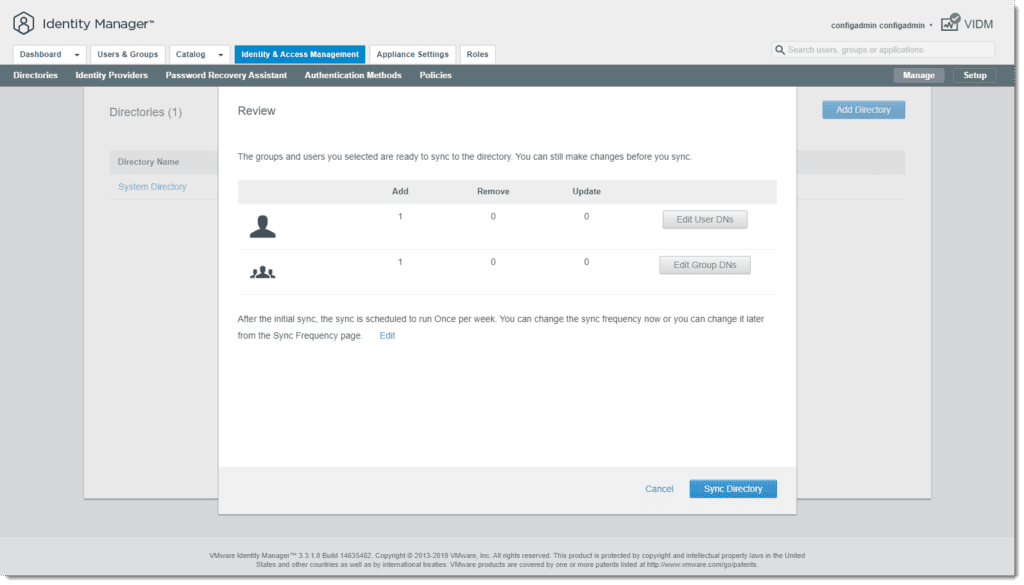
- Review and make any changes if necessary then click Sync Directory.
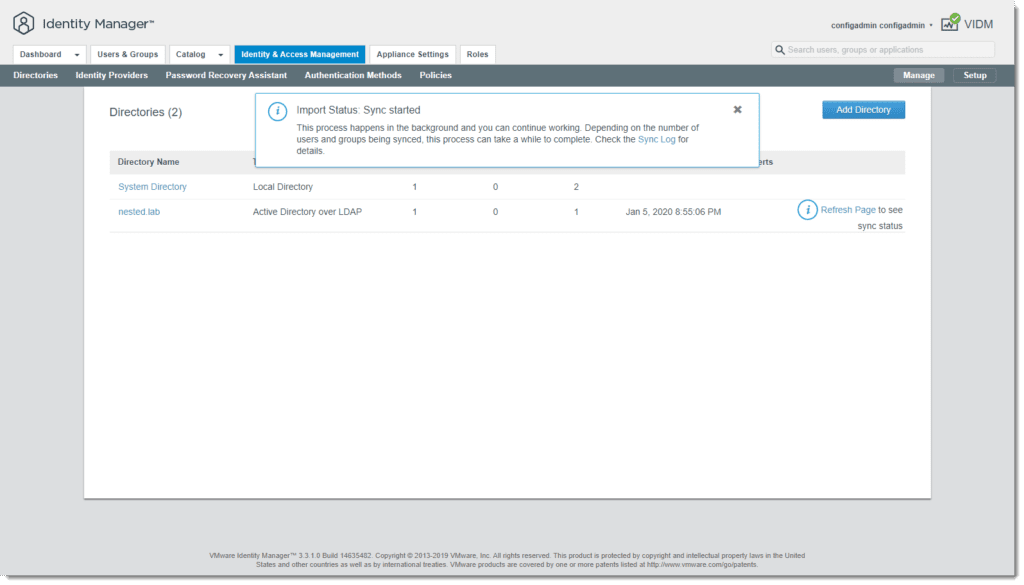
- The sync will begin, after a bit click the Refresh button to see the sync has finished
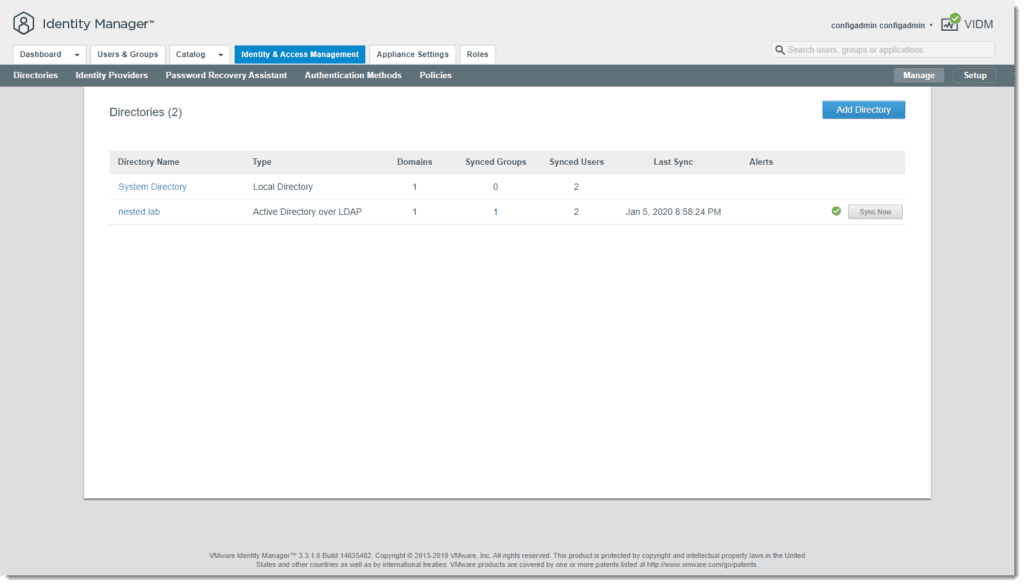
- To confirm that the users and groups synced, click Users & Groups > Users/Groups.
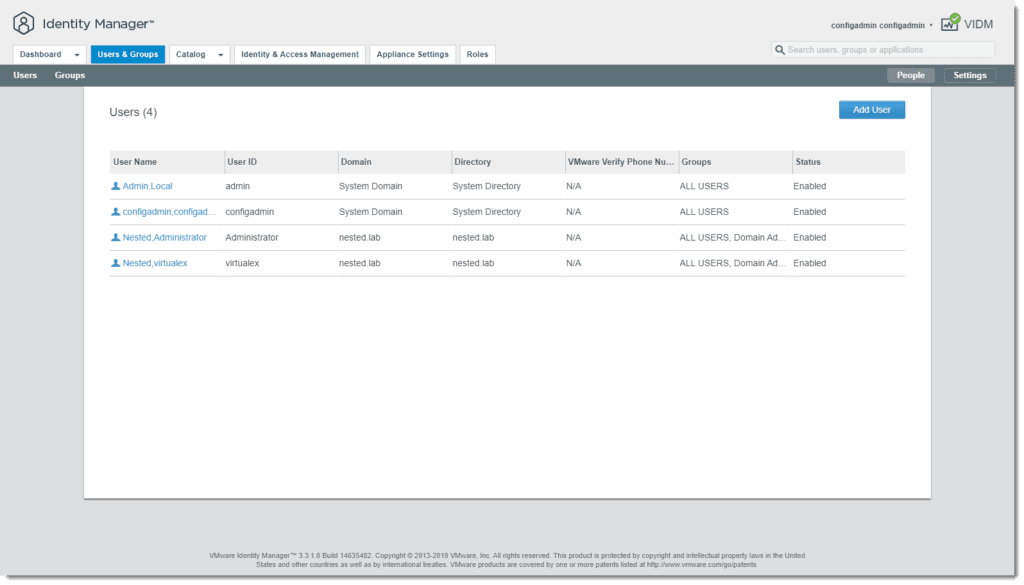
Now that the users I want are synced, I’d like to also give these users Super Admin rights to VMware Identity Manager.
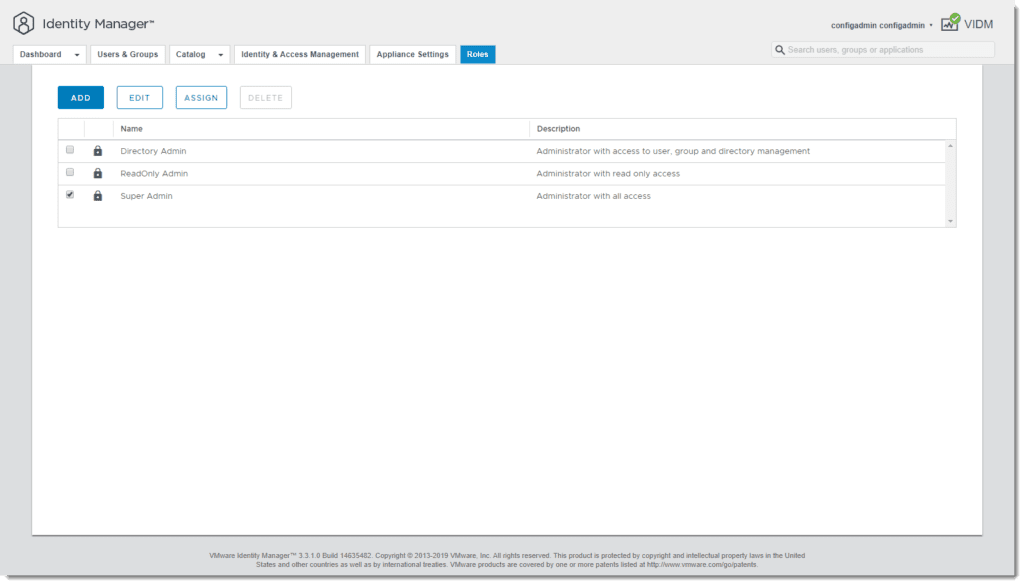
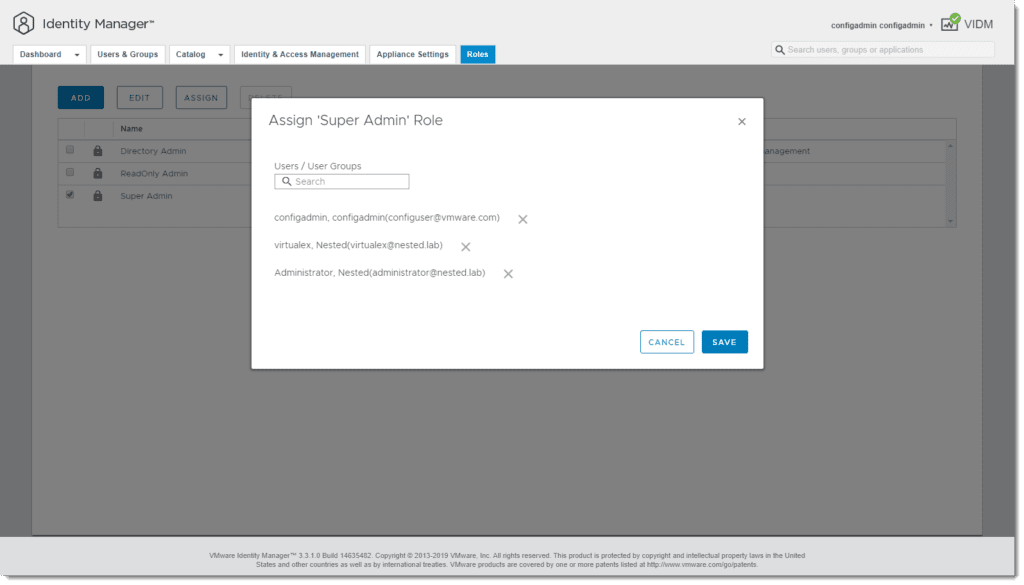
- Click Roles, then select the checkbox next to Super Admin and click Assign. Search for the users to add and when finished, click Save.
Now, I can successfully log in to VMware Identity Manager using the newly synced Active Directory accounts. But, before I can actually use these r accounts for other products, the users need to be given access to login to the respective solution. In my case, I’ve only deployed vRealize Suite Lifecycle Manager so far.
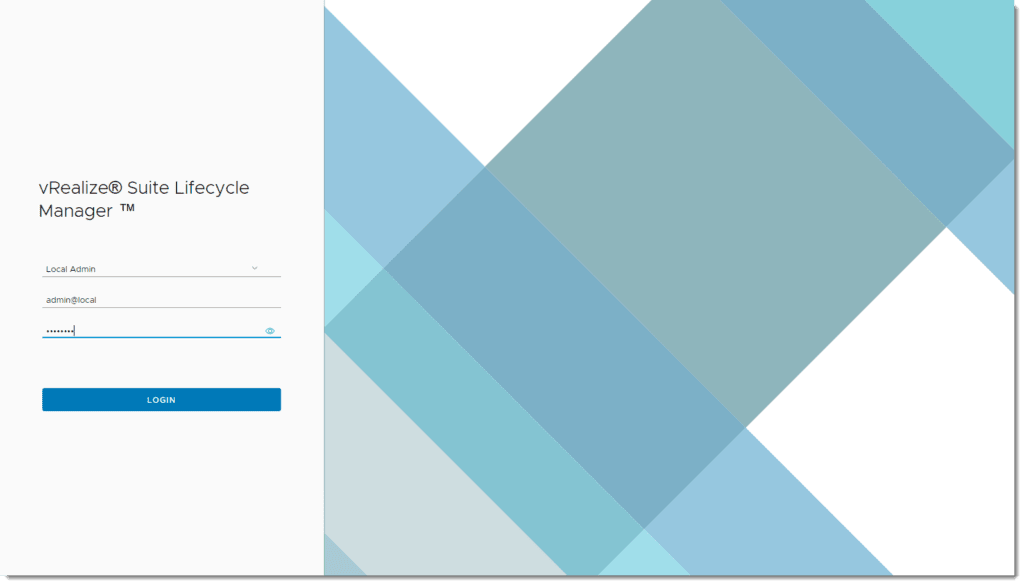
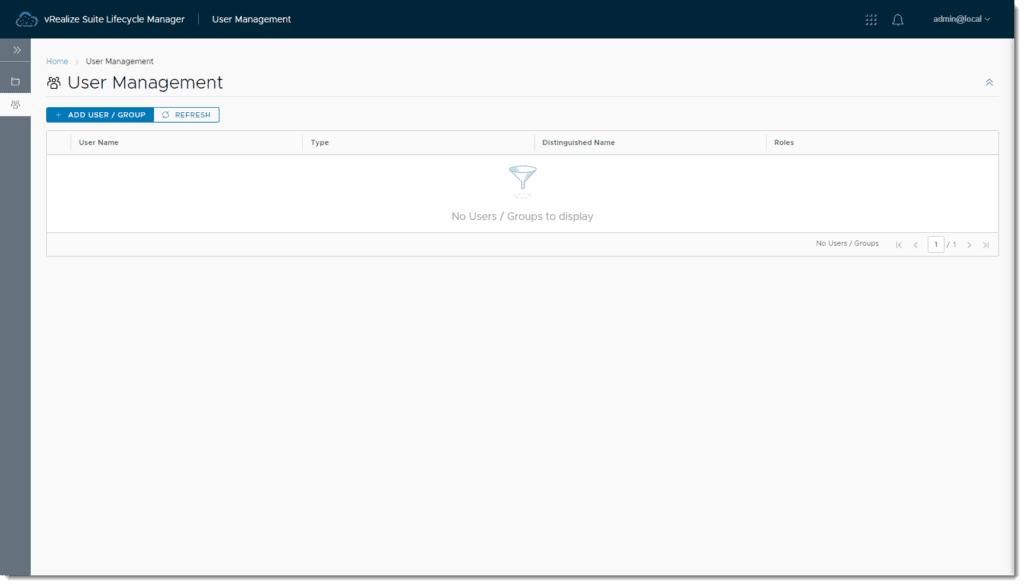
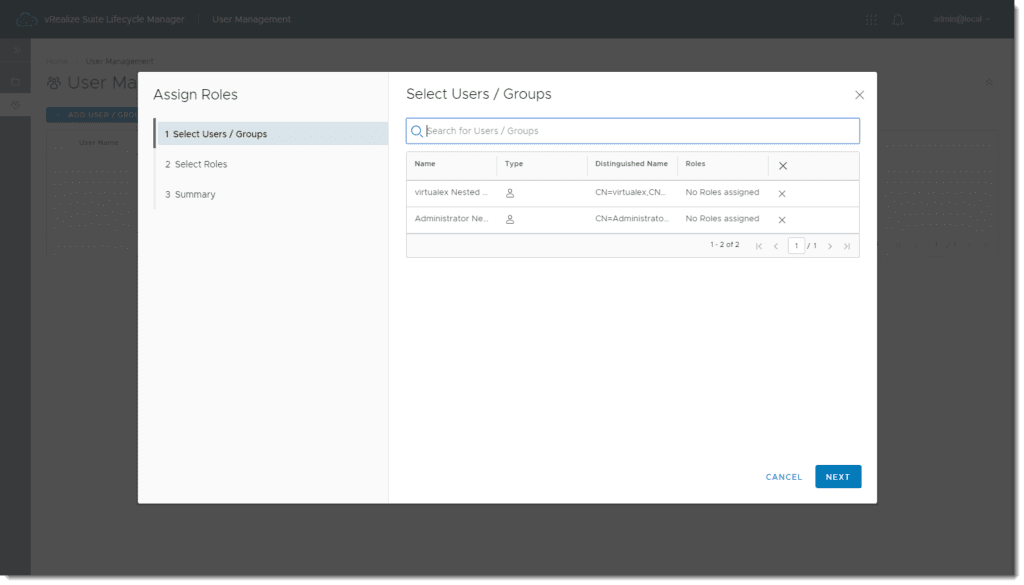
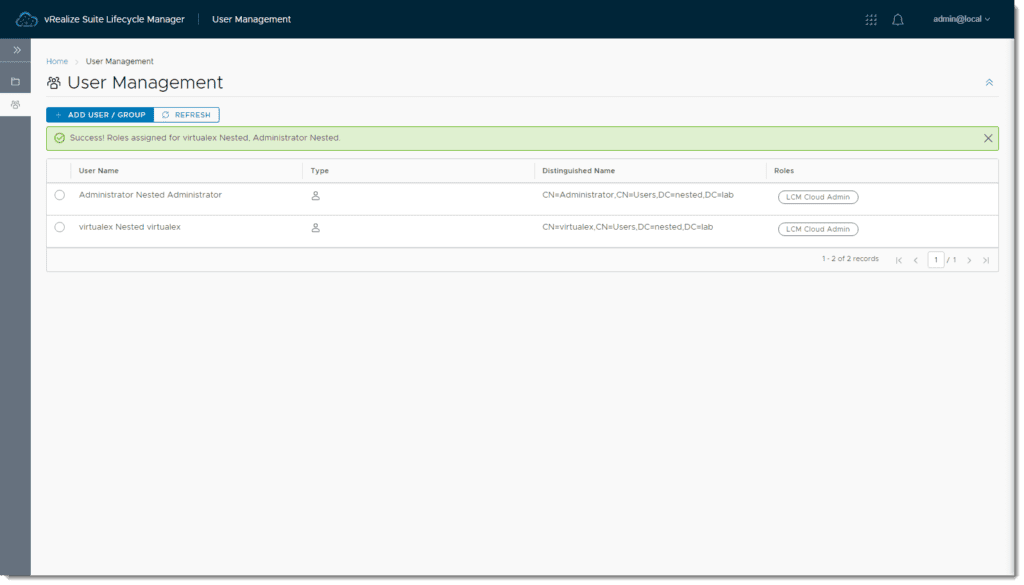
- Log in to vRealize Lifecycle Manager with the local admin account then select User Management > User Management > Add User / Group.
- Search for the users to add and click Next.
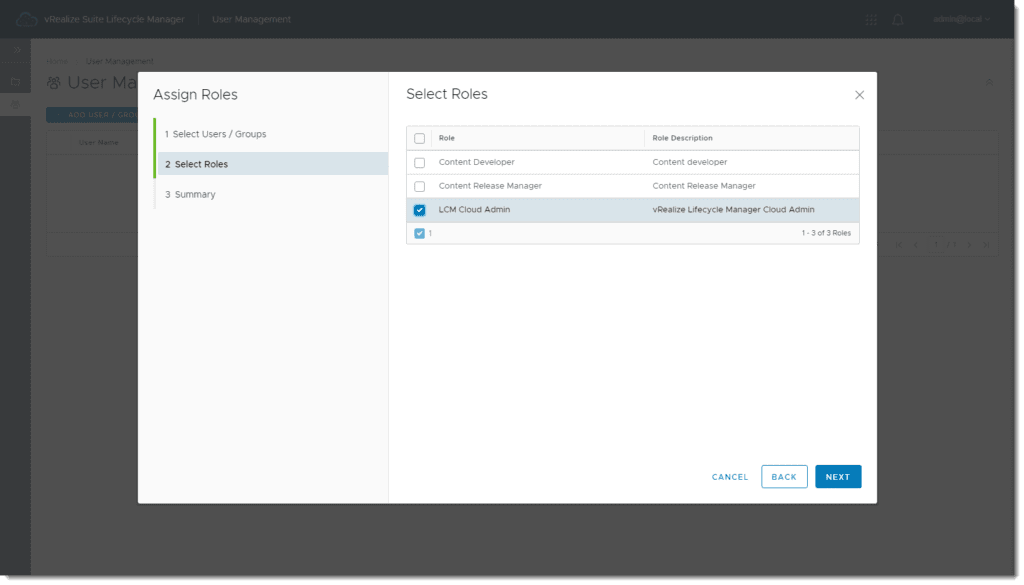
- Select the LCM Cloud Admin role and click Next.
- Review the Summary and click Submit.

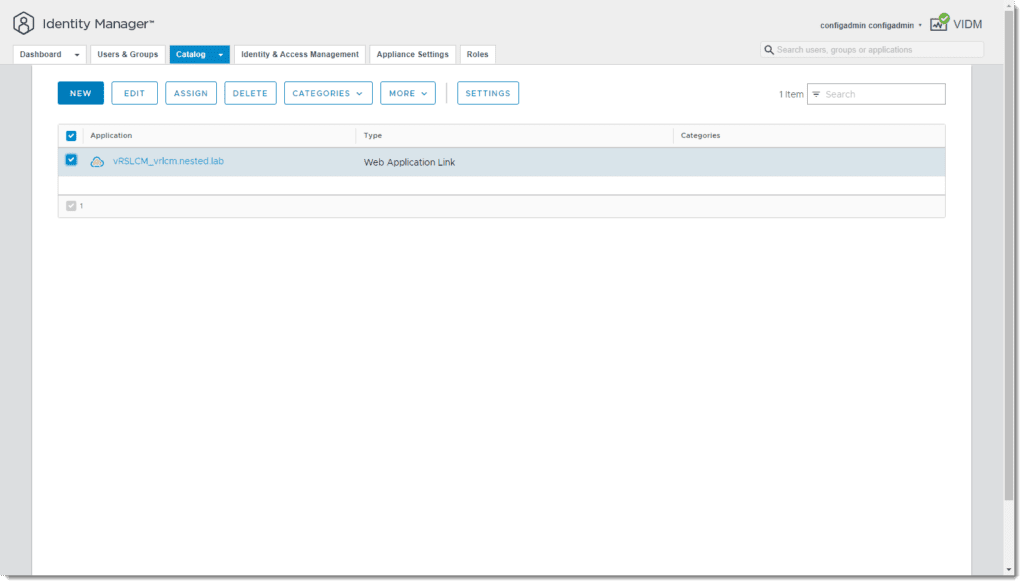
One final step to go! Now that I’ve granted rights in vRealize Suite Lifecycle Manager, I’m able to entitle users in VMware Identity Manager to allow access to vRealize Suite Lifecycle Manager using VMware Identity Manger authentication. How sweet it that, right?!
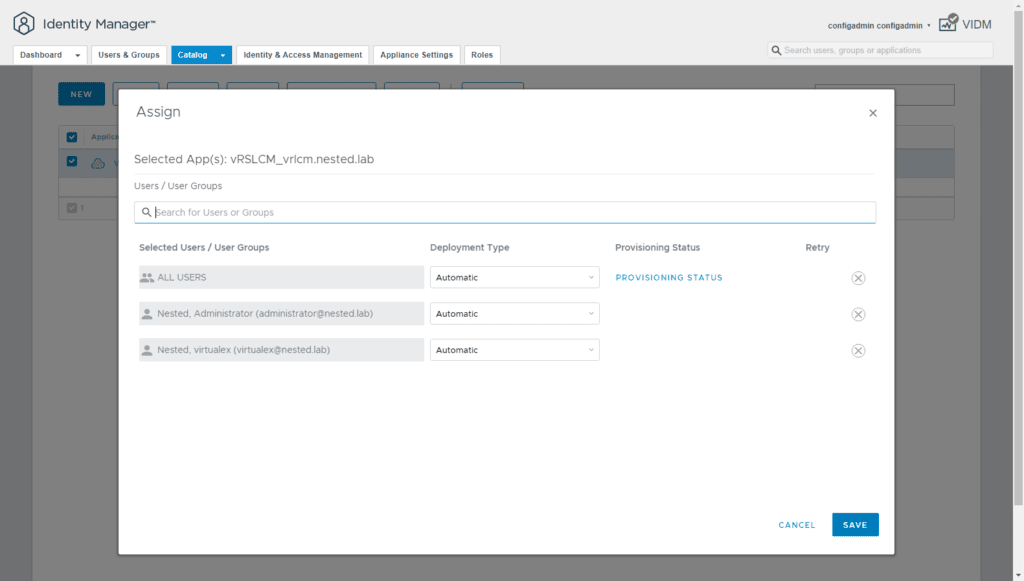
- Log in to VMware Identity Manager and access the Administration Console then Catalog. Select the checkbox next to the Application that is to be Entitled and click Assign.
- Search for the Users and/or Groups to be Entitled then ( Optional: also Change the Deployment Type to Automatic ) click Save.
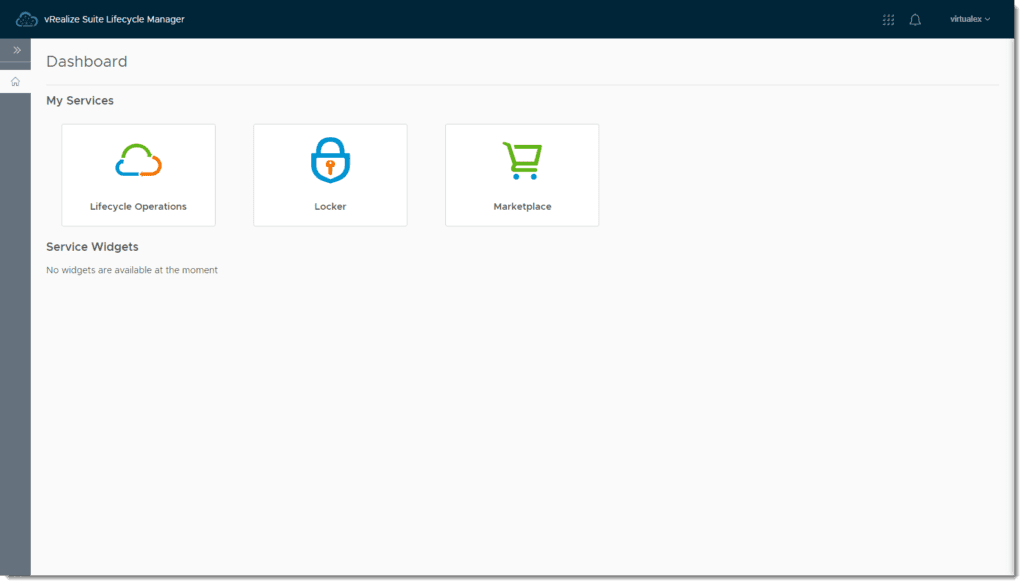
- Navigate to vRealize Suite Lifecycle Manager and select Identity Manager User from the drop-down selection, then click Login with Identity Manager. Success!!

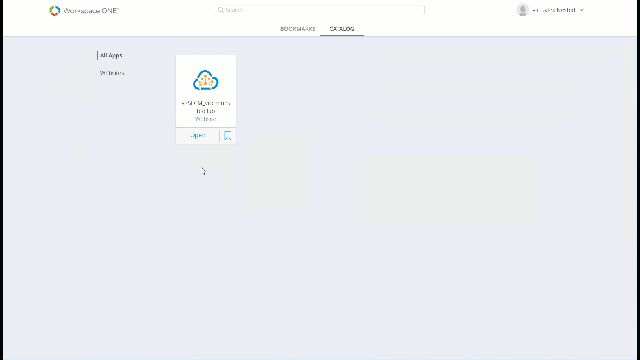
Additionally, a user can also automatically authenticate into an Application from their Workspace One Access (VMware Identity Manager) User Portal.
- Click the Open link on the Application watch it launch the URL and authenticate the user Automagically!
Well, that about wraps up this post. In the next post, I’ll go over the deployment of vRealize Automation 8.0.
I hope that you’ve found this useful and I thank each and every one of you for reading.
Comments