vRealize Suite 2019 - Part 3: Installing vRealize Automation
Intro
In my previous post, I covered the configuration of VMware Identity Manager in preparation for what I will cover in this post, the installation of vRealize Automation 8.0! This new release is a complete redesign of the product and now uses a similar codebase to vRealize Automation Cloud (formerly known as Cloud Automation Services), bringing those capabilities to the on-premises form factor and making it easier to transform IT delivery. I look forward to tinkering with this more after the deployment! Let’s jump right in!
Procedure
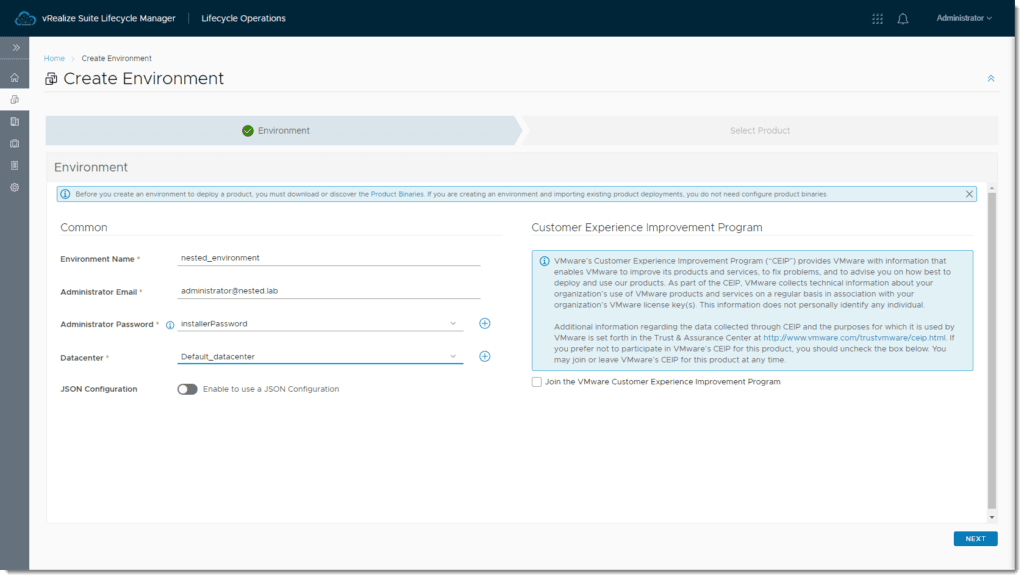
- Begin by logging into vRealize Lifecycle Manager and from the home page, click Create Environment.
- Fill out the details and click Next.
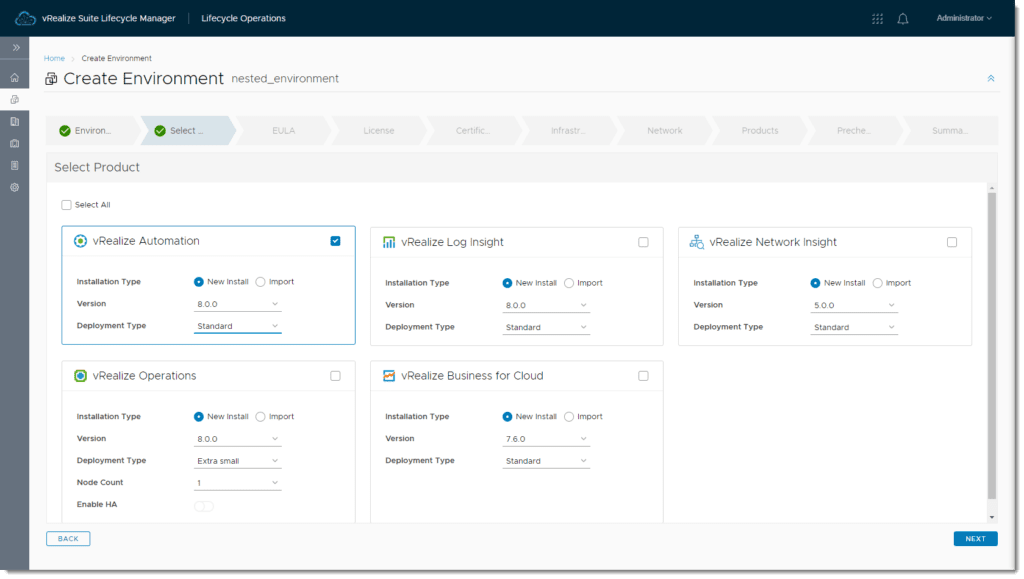
- Select the vRealize Automation product and the preferred Deployment Type, then click Next.
- I am doing a Standard single-node deployment.
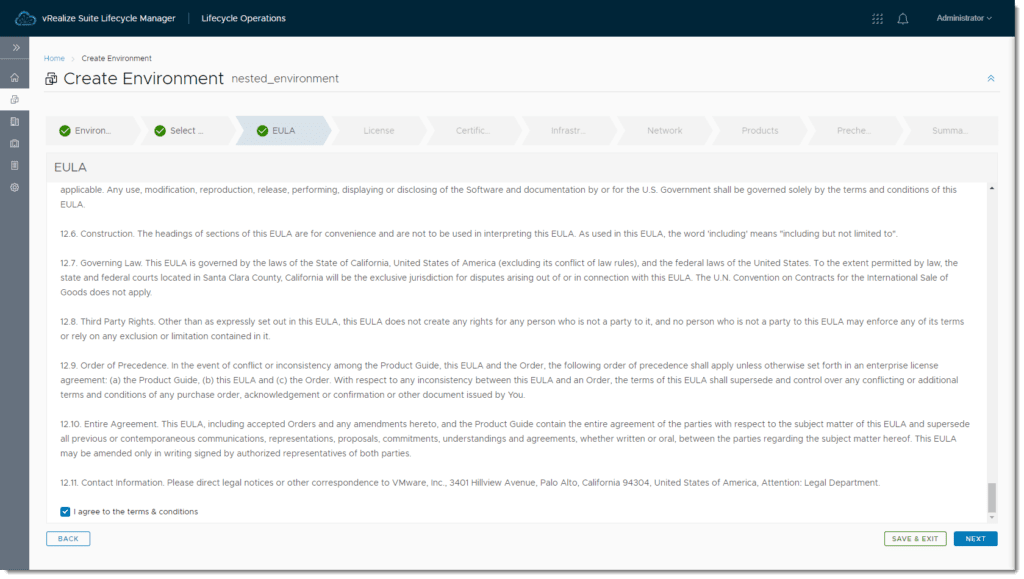
- Accept the EULA and click Next.
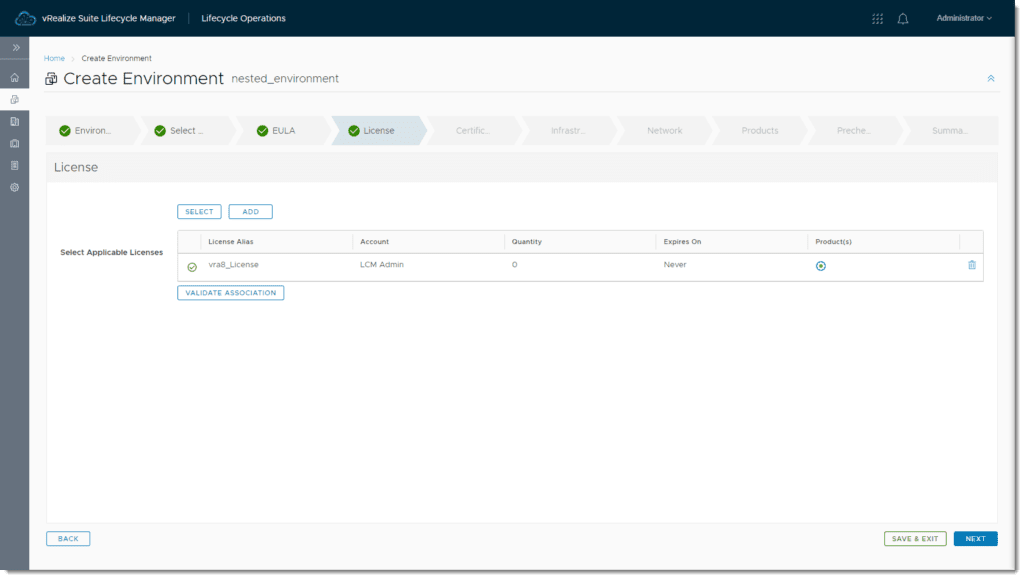
- Add a vRA License by clicking Add or Select.
- Add will guide through entering and saving a license into LCM’s Locker.
- Select will let you choose from your list of saved licenses.
- After adding the license click Validate Association then click Next.
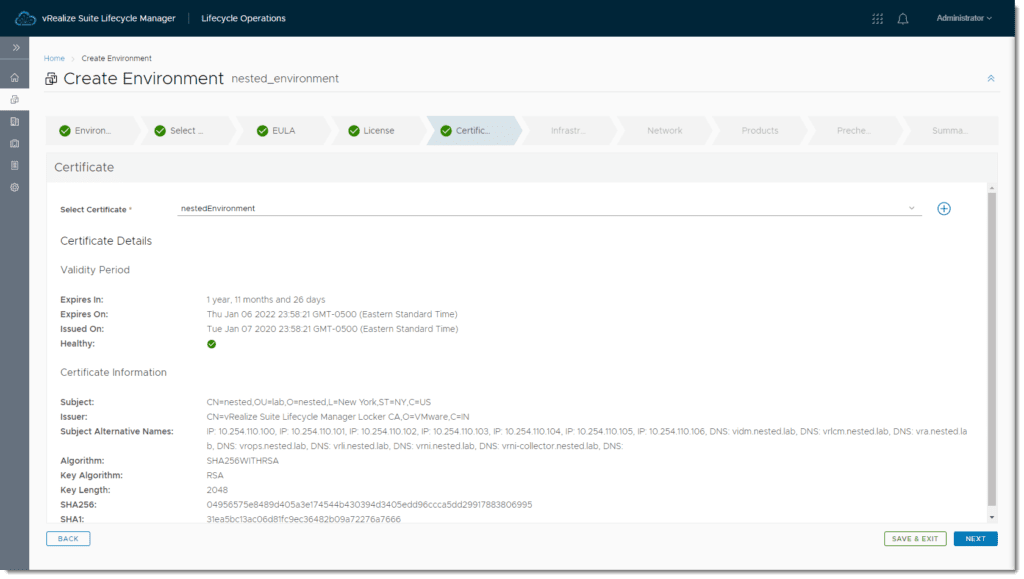
- Select your generated Certificate and click Next.
- Certificates are also stored in LCM’s Locker. If you need to create a certificate, click the + sign on the far right to walk through the process of generating and saving a new cert.
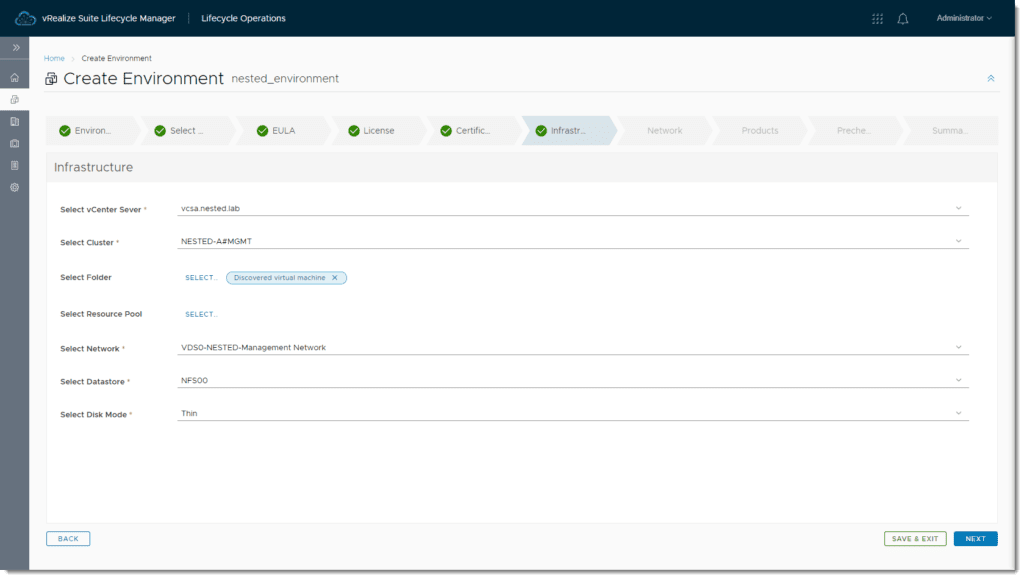
- Configure the appropriate information and click Next.
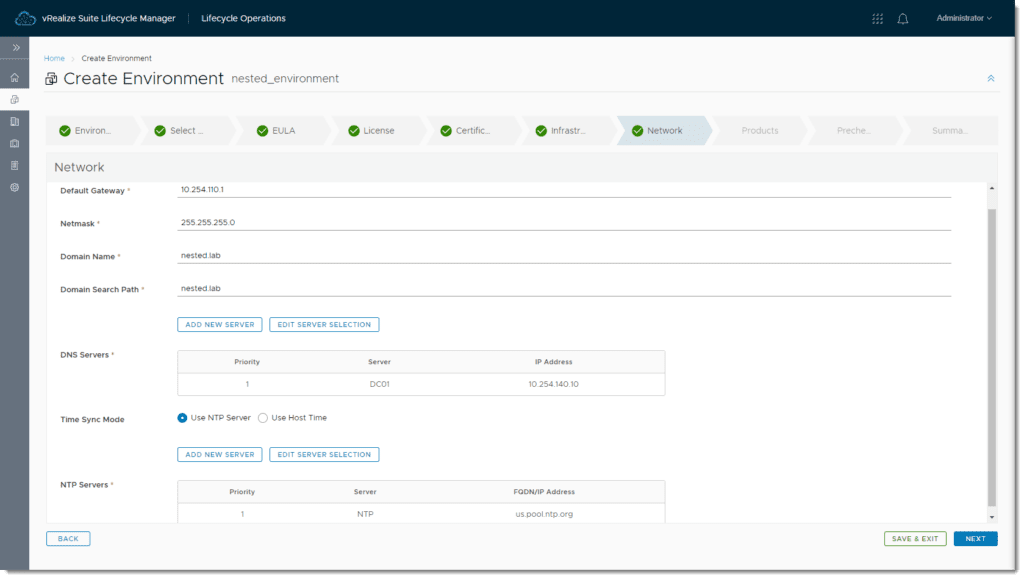
- Enter in the required network information and click Next.
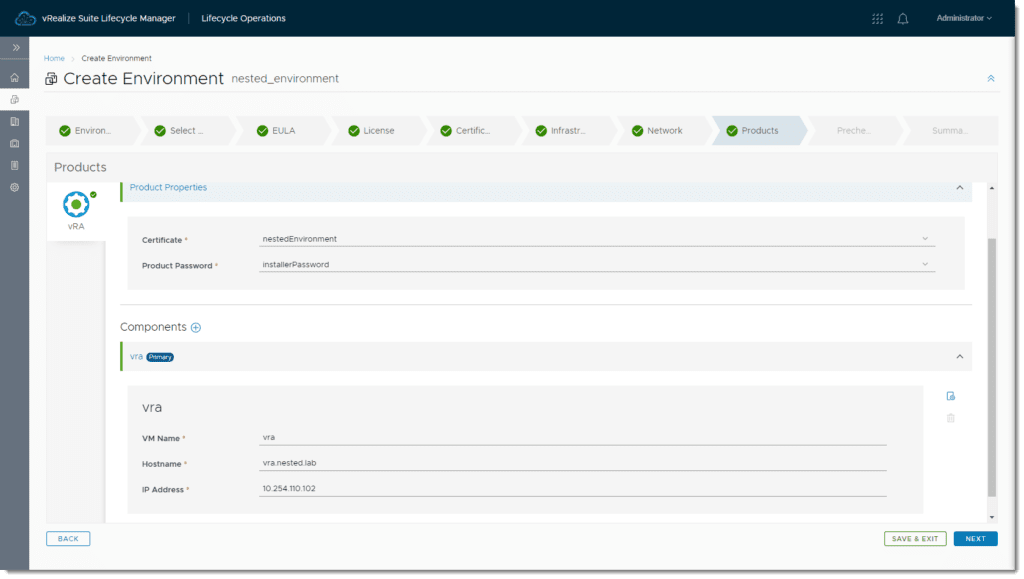
- Enter in the VM Name, Hostname, and IP Address for the vRealize Automation appliance and click Next.
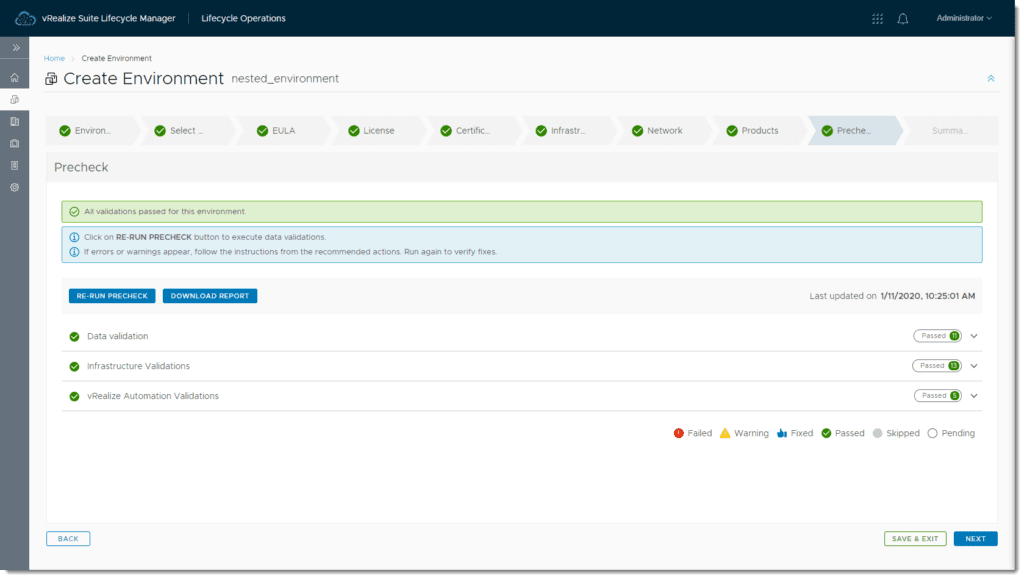
- Click Run Precheck and if everything comes back successful, click Next.
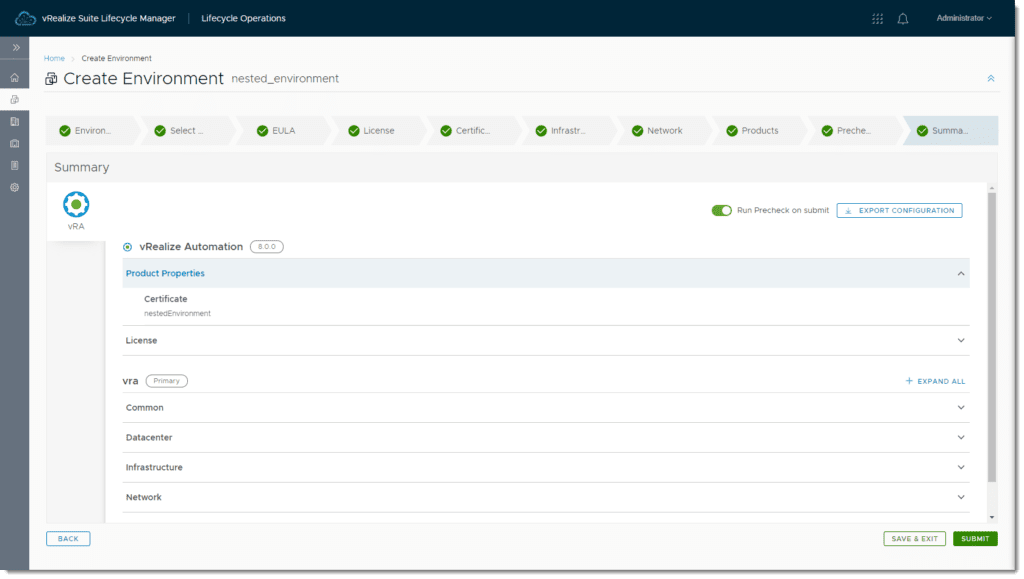
- When ready, click Submit.
- This is a good time to export the configuration to save as a backup or to use again for another deployment of vRA.
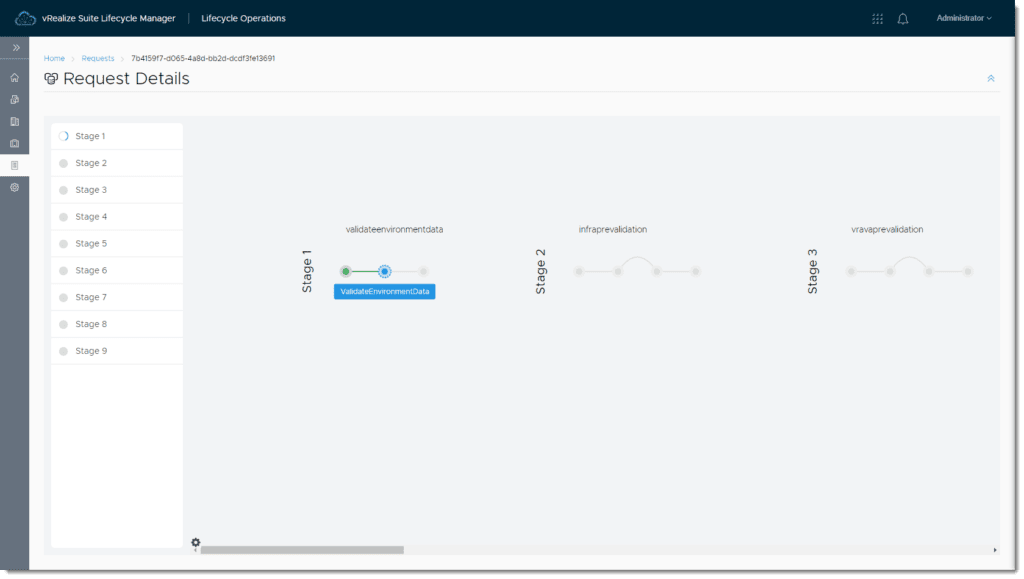
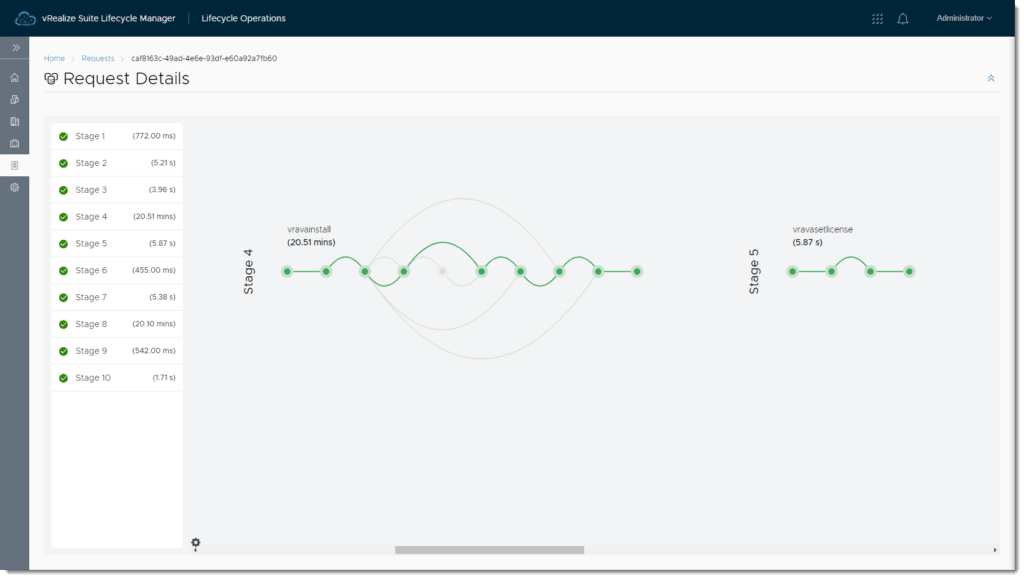
If all goes well, in about an hour’s time you’ll have a successful installation of the new vRealize Automation 8.0
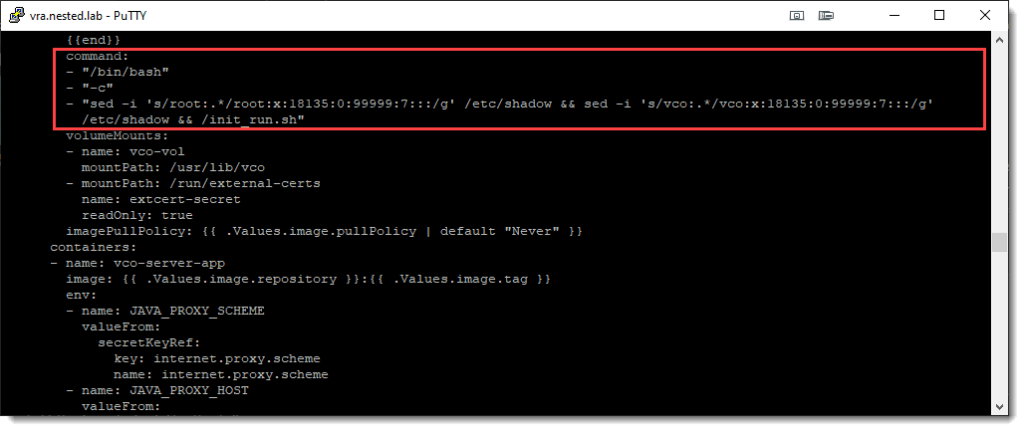
- Look for the following lines of code around line 210.
command:
        - "/bin/bash"
        - "-c"
        - "/init_run.sh"
- Edit the lines to look like the following:
command:
        - "/bin/bash"
        - "-c"
        - "sed -i 's/root:.*/root:x:18135:0:99999:7:::/g' /etc/shadow && sed -i 's/vco:.*/vco:x:18135:0:99999:7:::/g'
          /etc/shadow && /init_run.sh"
- After editing the file, return to the failed request in the vRealize Lifecycle Manager GUI and click Retry, and the installation should complete successfully.
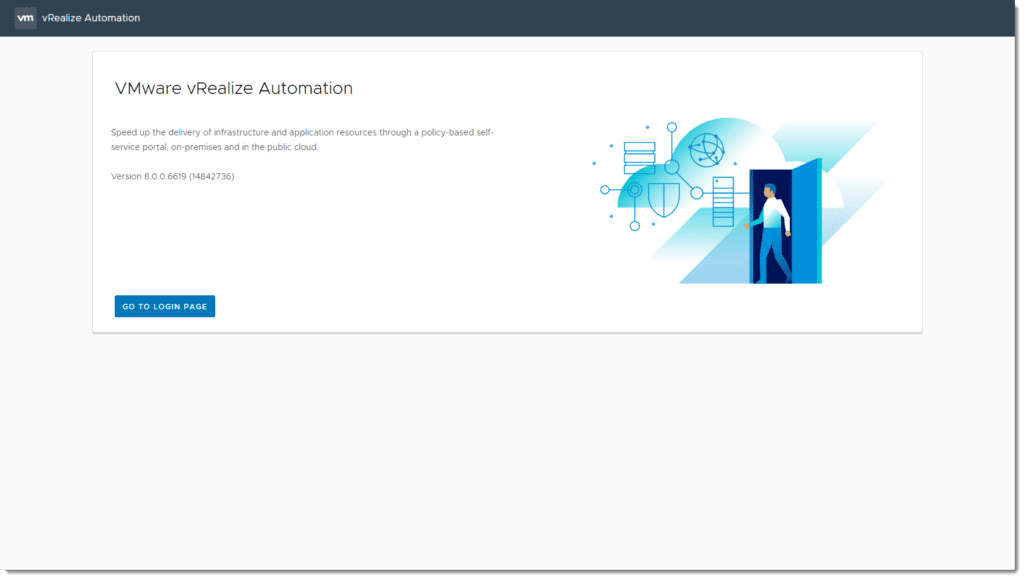
- Navigate to the vRealize Automation URL and click Go To Login Page.
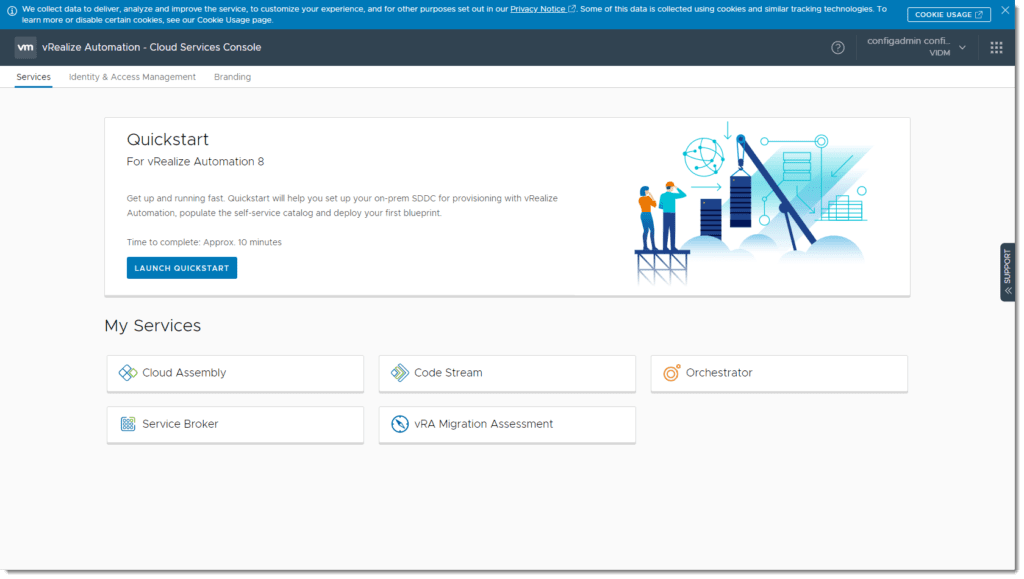
- Log in with the configadmin account from VMware Identity Manager.
- We can then grant access to different users so they can access and work with vRealize Automation.
- Log in with the configadmin account from VMware Identity Manager.
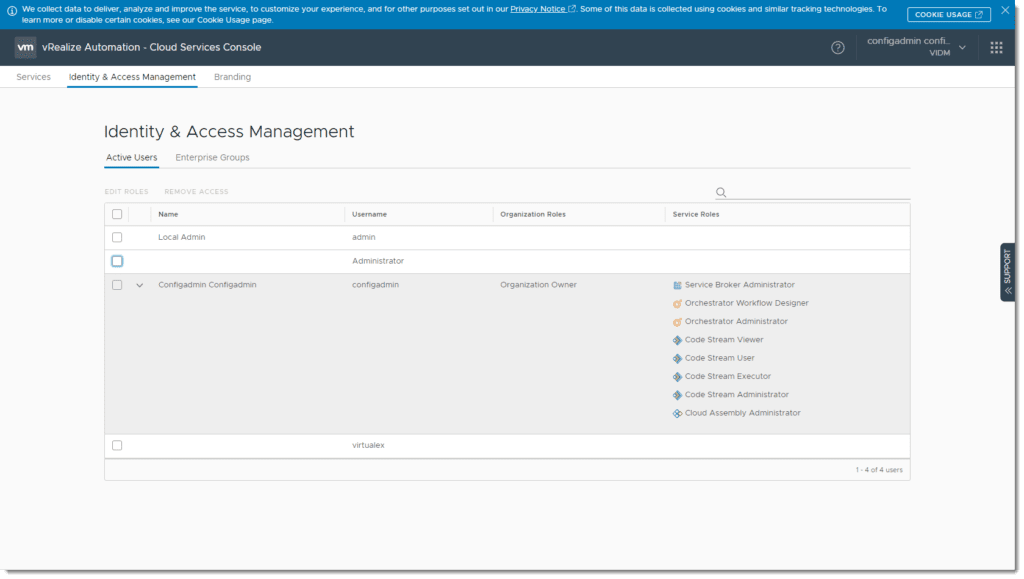
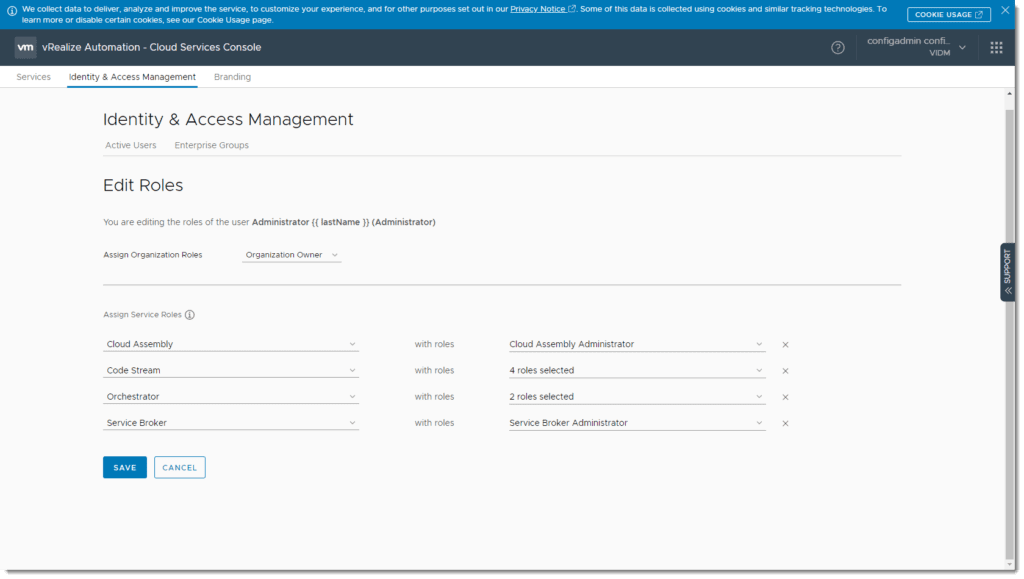
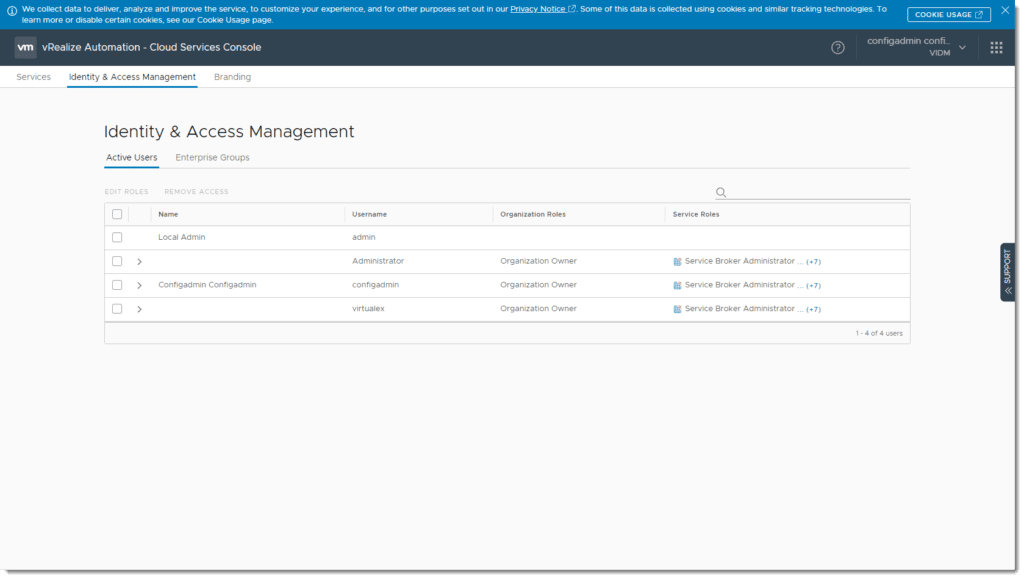
- Click on Identity & Access Management.
- You may already see the users configured previously in vIDM.
- Configadmin has all the roles so feel free to mirror the roles to your users, which I did here, or select the appropriate roles for your production users.
Now, we can log out of vRealize Automation and head over to the Admin Console of VMware Identity Manager so we can configure a new Web Application for our users. This way, once they log into Workspace One Access, they can launch the application and authenticate automatically!
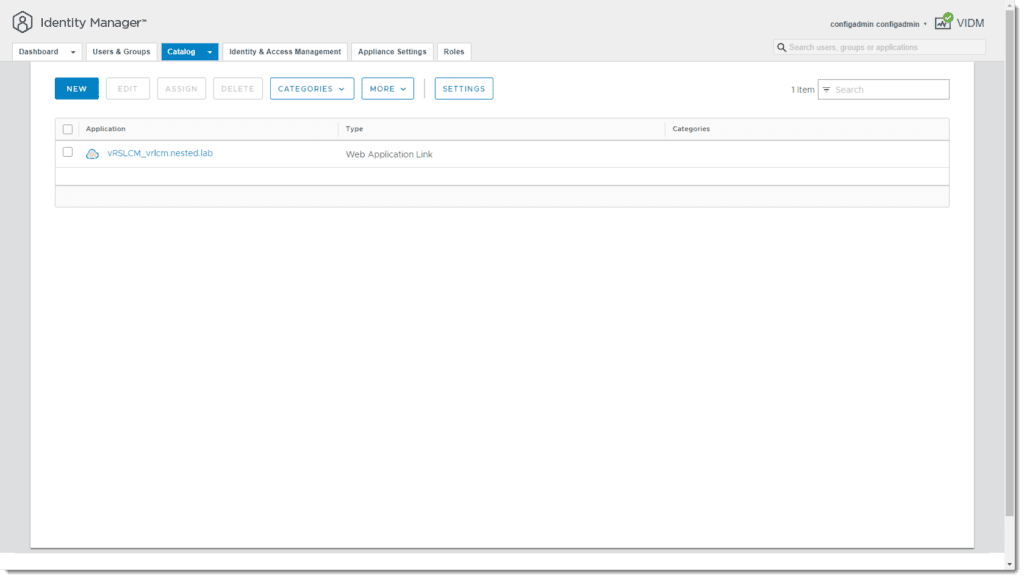
- From the vIDM Administrator Console, click Catalog > New.
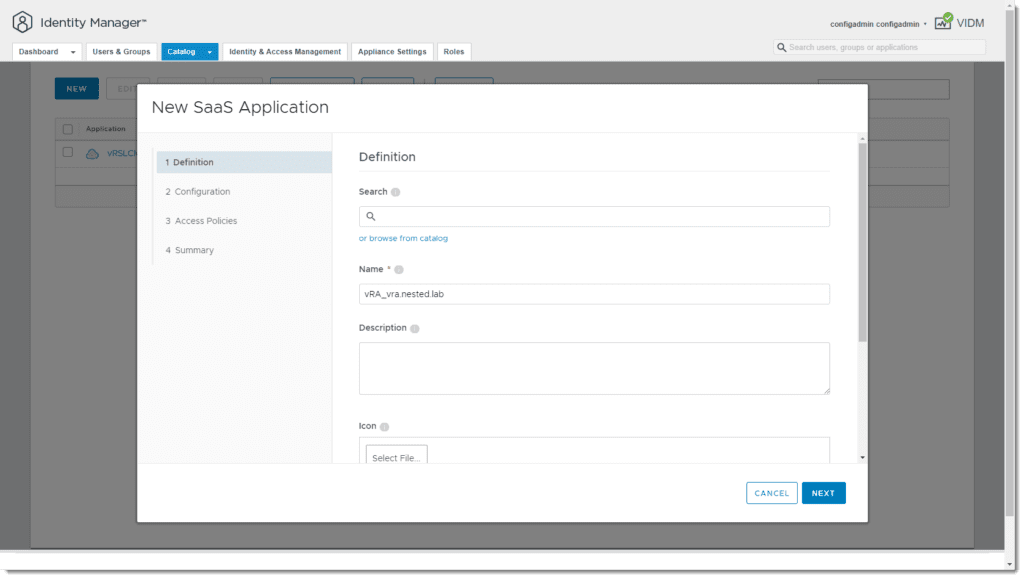
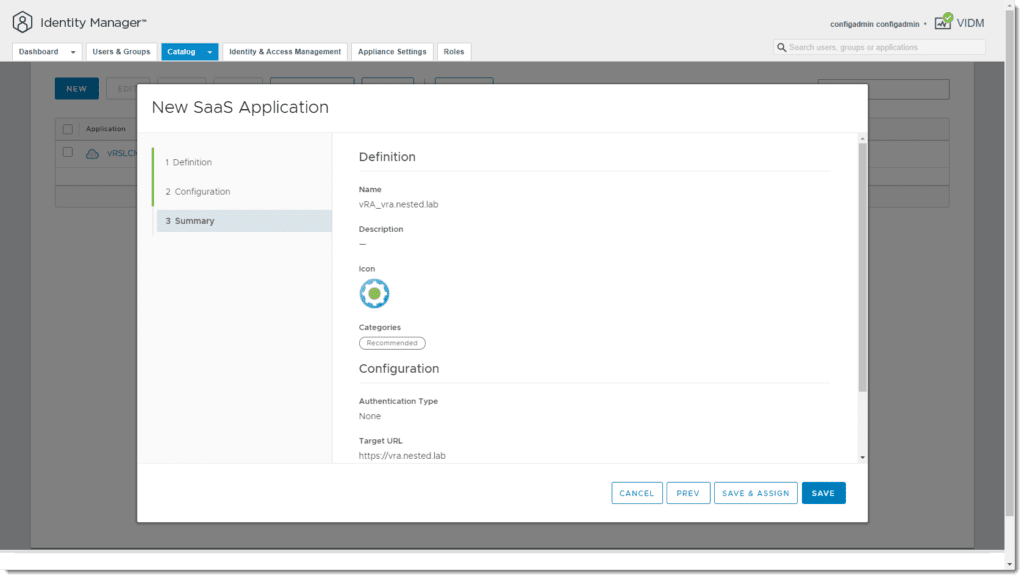
- Provide a Name for the application and select an Icon file if you have one, then click Next.
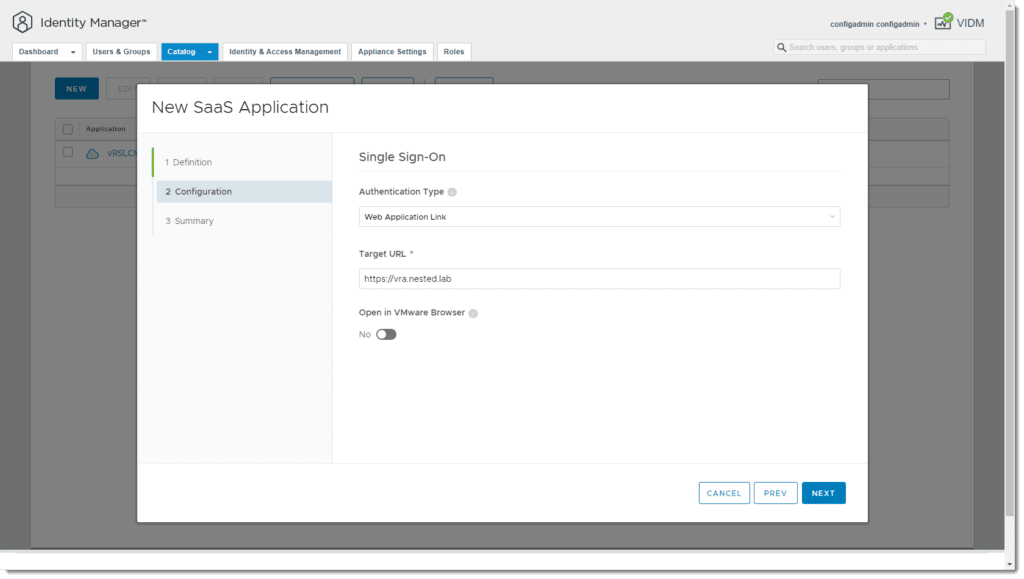
- Select Web Application Link for the Authentication Type and enter the Target URL, then click Next.
- Click Save & Assign
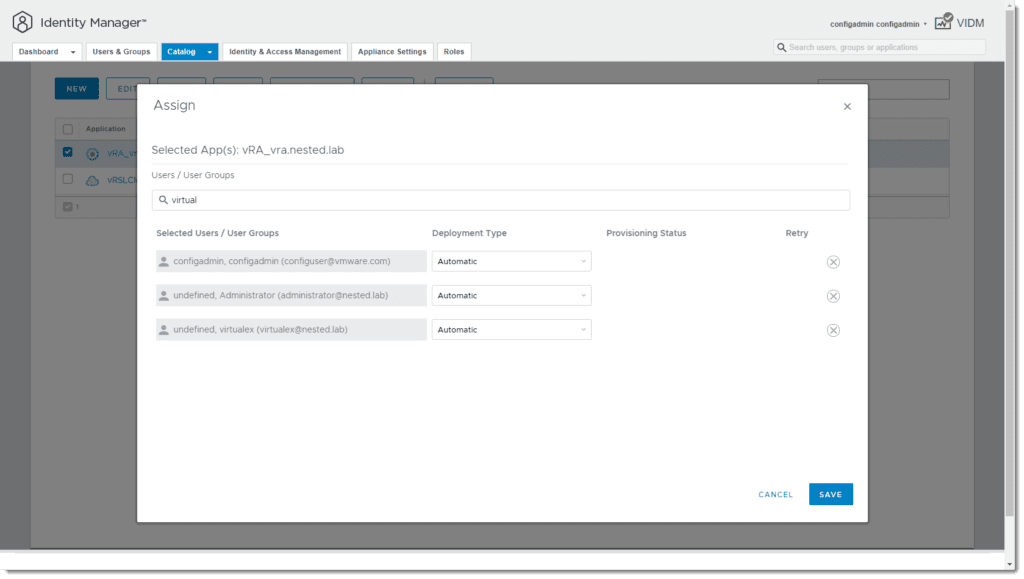
- Add the desired users and set the Deployment Type to Automatic, then click Save.
- When the application is launched, it will automatically attempt to authenticate the user.
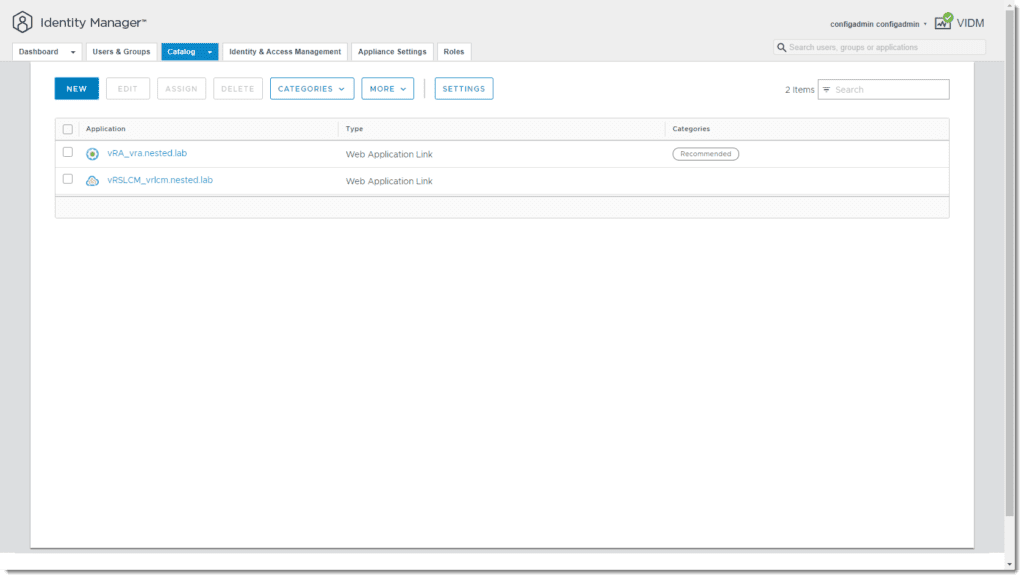
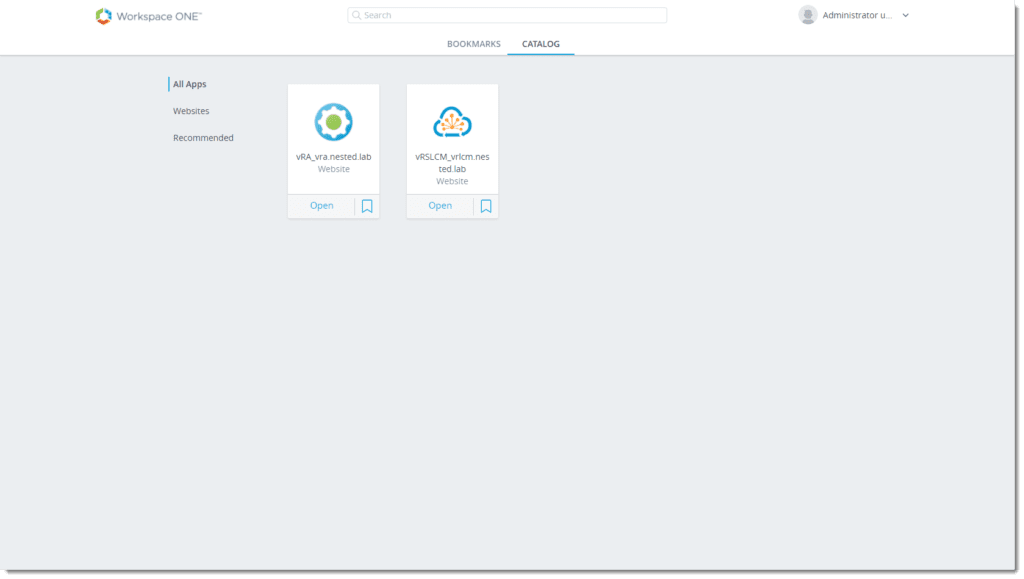
- Navigate back to the User Portal and the application should now be available in the Catalog.
Well, that about wraps up this installation and I can’t wait to start getting my feet wet with this new version. I’m familiar with the previous versions, but as mentioned earlier, this is a complete redesign of the product so time for me to learn it…can’t wait!
I hope that you’ve found this information useful, and I thank you all for stopping by and reading!
Comments