vRealize Suite 2019 - Part 1: Installing vRealize Lifecycle Manager
Intro
Welcome to Part 1 of my vRealize Suite 2019 Series. In my previous post, I went over the gist of what I plan to deploy in my nested Home Lab. In this post, I will cover the installation of vRealize Suite Lifecycle Manager using the new vRealize Easy Installer released with the v8.0 of the solution.
With vRealize Easy Installer, you can:
- Install vRealize Suite Lifecycle Manager
- Install a new instance of vRealize Automation
- Register vRealize Automation with Workspace ONE Access
Please note that as of the time of this writing, the latest version of vRealize Suite Lifecycle Manager is v8.0.1. I will focus on deploying v8.0.0 and eventually cover the upgrade to v8.0.1. Let’s get right to it, shall we?
Obtain and Access the Easy Installer
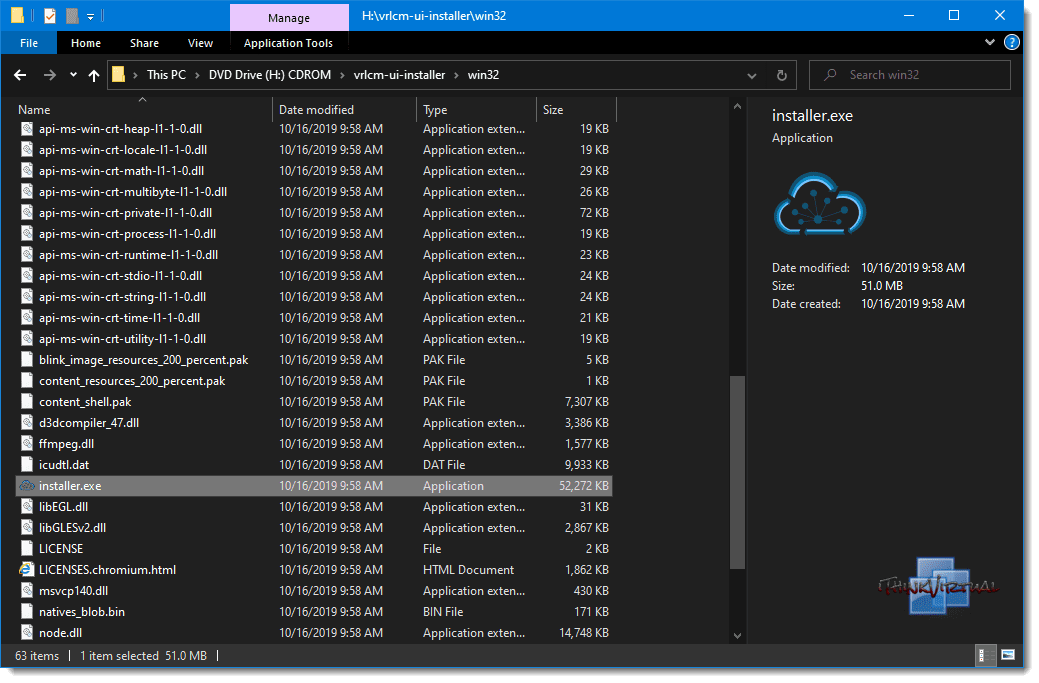
The vRealize Easy installer can be downloaded from My VMware download page. The media comes in the form of a .iso file. Once the .iso has been downloaded, either mount the ISO or extract its contents and launch the Installer.exe file located in the \vrlcm-ui-installer\win32 directory.
Install vRealize Suite Lifecycle Manager
You are required to first define the vCenter Server details, resource location to deploy your appliance, specify resources and then access vRealize Suite Lifecycle Manager. The following steps are outlined in the official documentation.
Procedure
- Click Install on the vRealize Easy Installerwindow.
- Click Next after reading the introduction.
- Accept the License Agreement and click Next.
- Read the Customer Experience Improvement Program and select the checkbox to join the program.
- To specify vCenter Server details.
- Enter the vCenter Server Hostname.
- Enter the HTTPs Port number.
- Enter the vCenter Server Username, and Password.
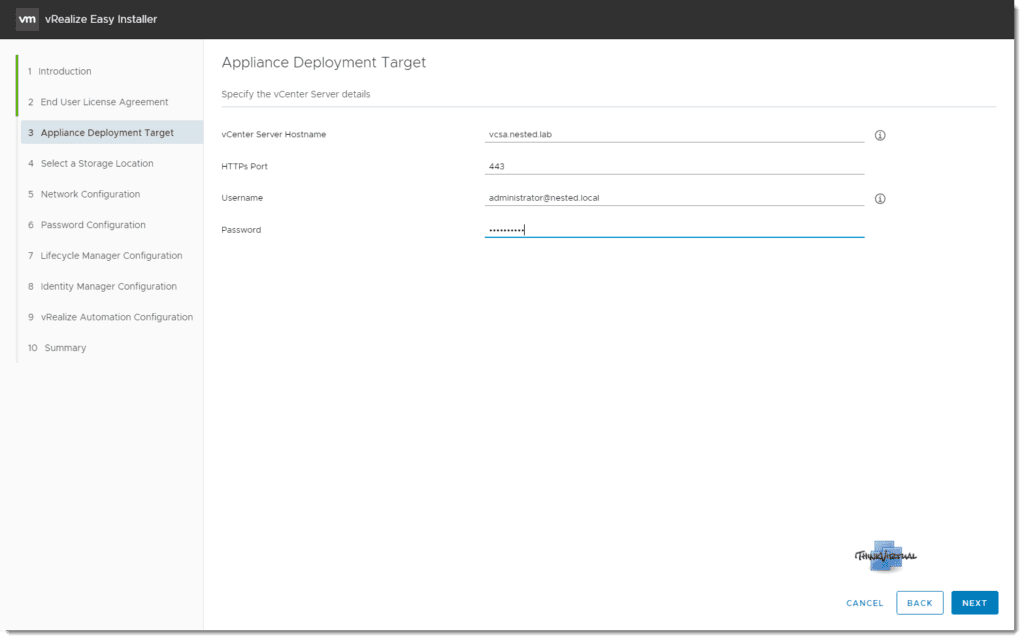
- Click Next and you are prompted with a Certificate Warning, click Yes to proceed.
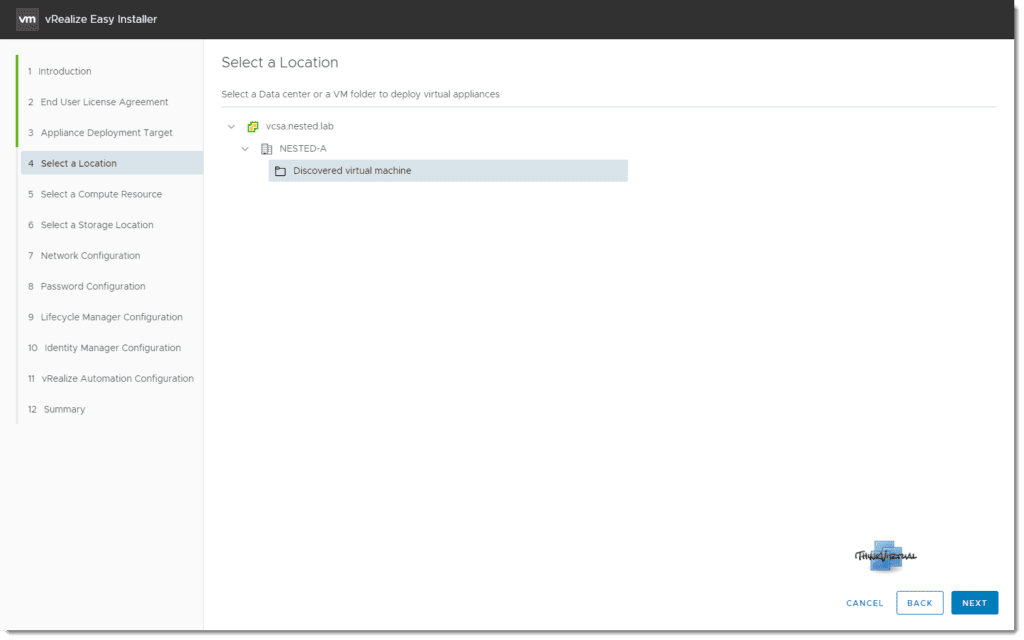
- You must specify a location to deploy virtual appliances.
- Expand the vCenter Server tree.
- Expand to any data center and map your deployment to a specific VM folder.
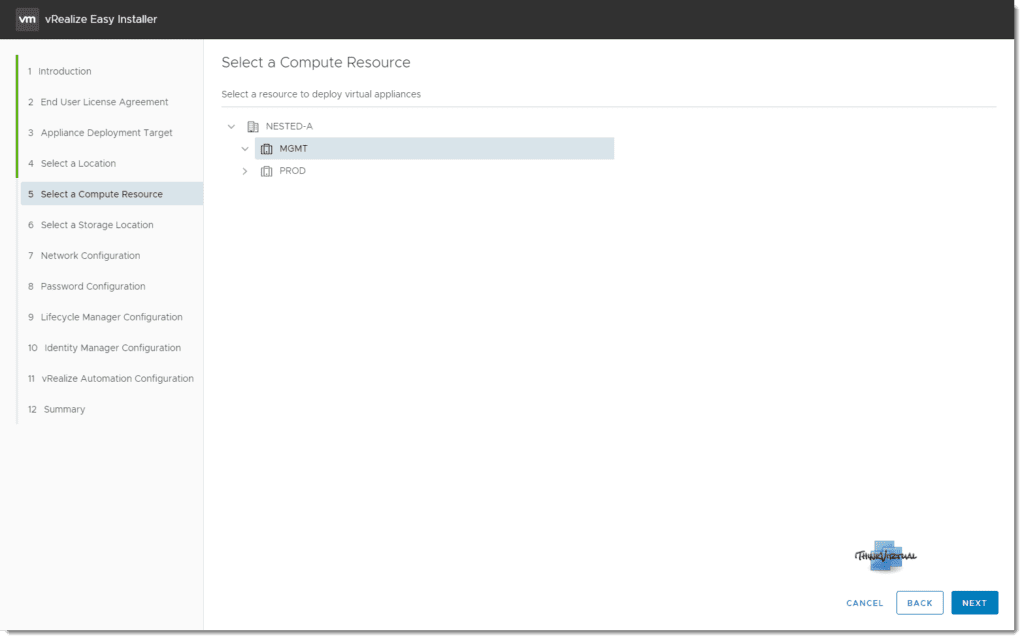
- Specify a resource cluster
- Expand the data center tree to an appropriate resource location and click Next.
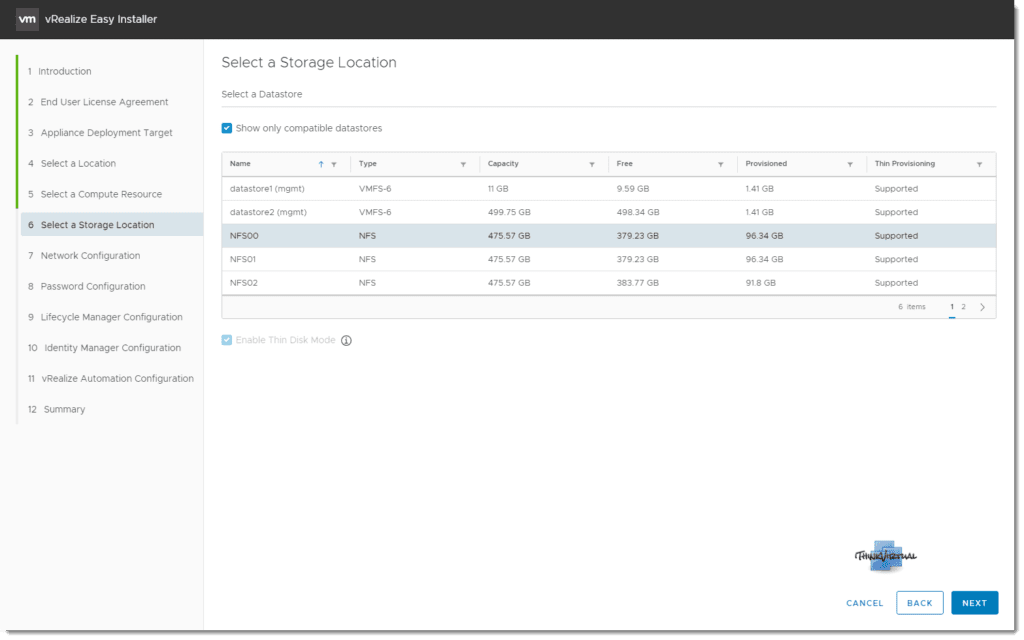
- Store your deployment, allocate a datastore and click Next.
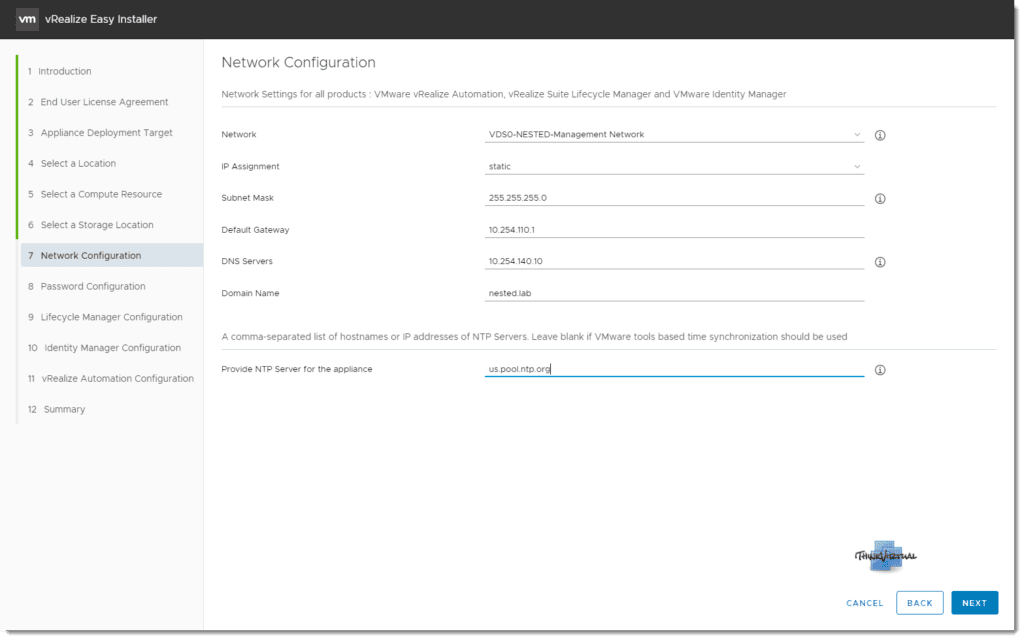
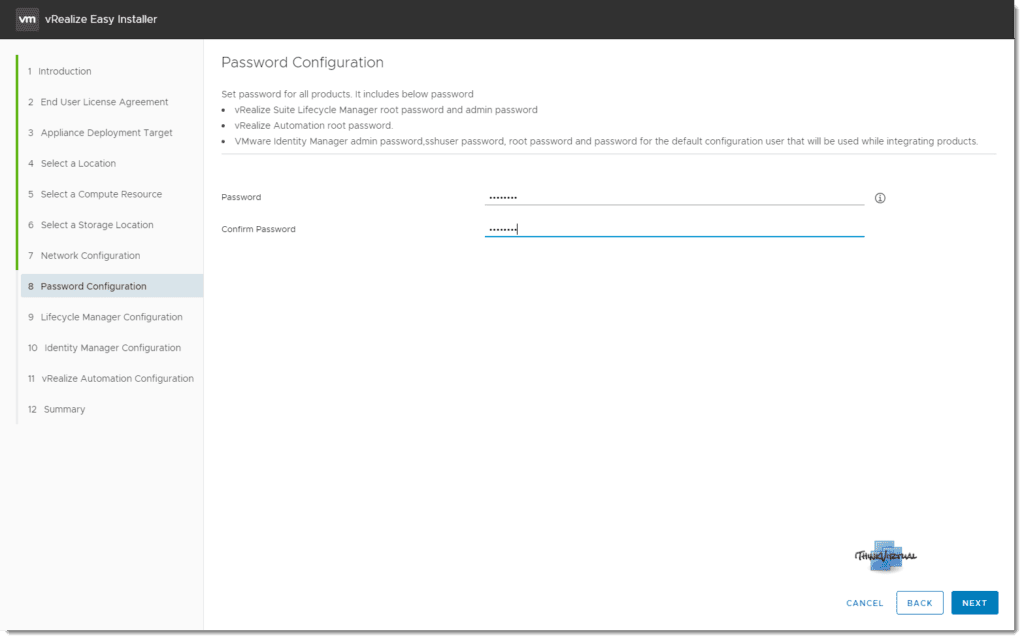
- Set up Network and Password configuration, enter the required fields, and click Next.
- Enter the NTP Server for the appliance and click Next. The network configurations provided for all products are a one time entry for your configuration settings. The password provided is also common for all products and you need not enter the password again while you are installing the products.
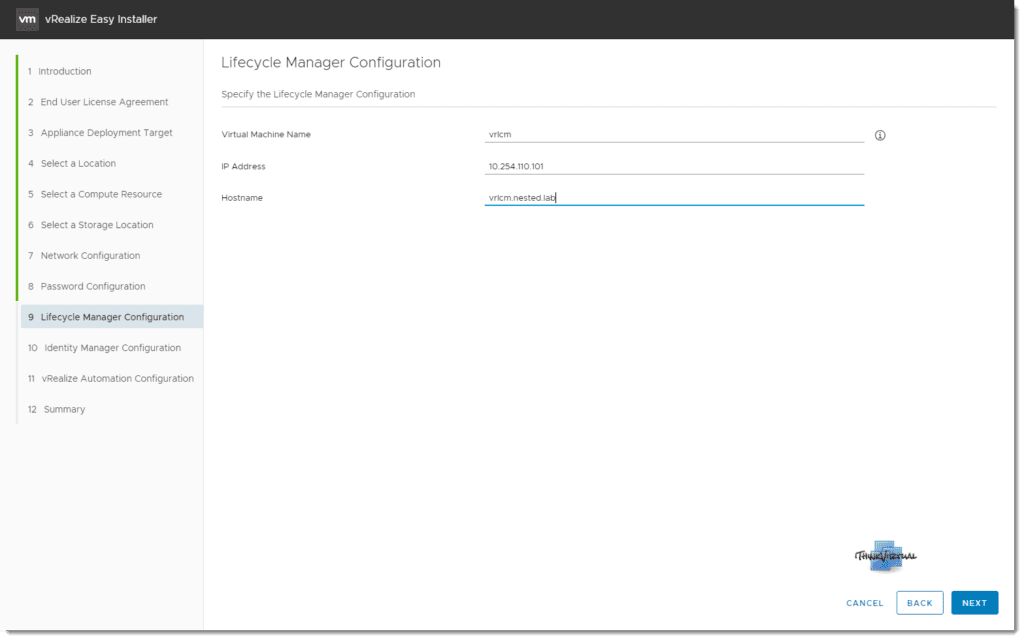
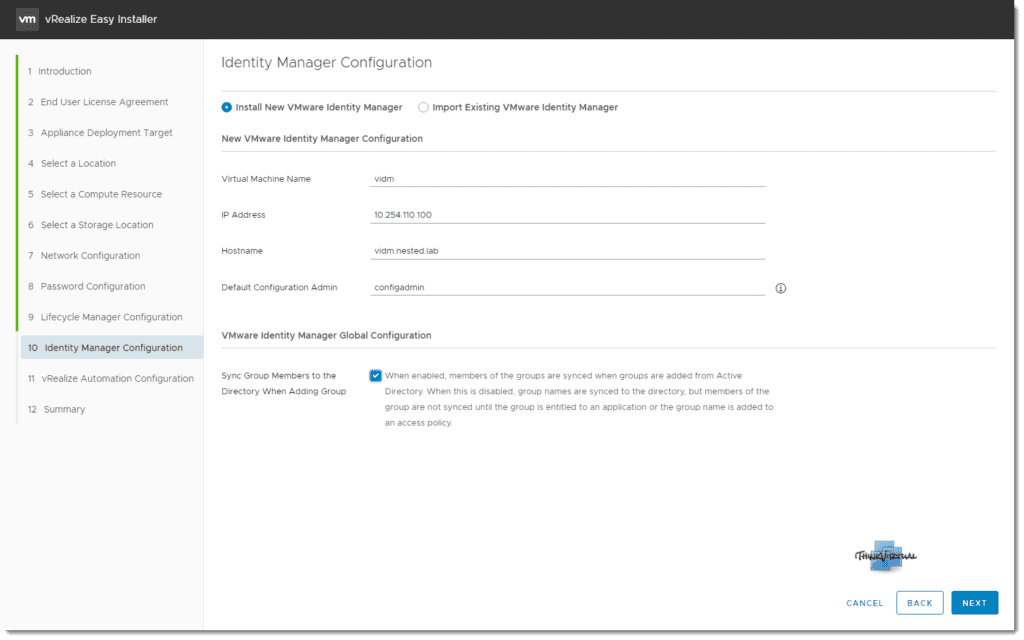
- Set up vRealize Suite Lifecycle Manager configuration settings.
- Enter a Virtual Machine Name, IP Address, and Hostname.
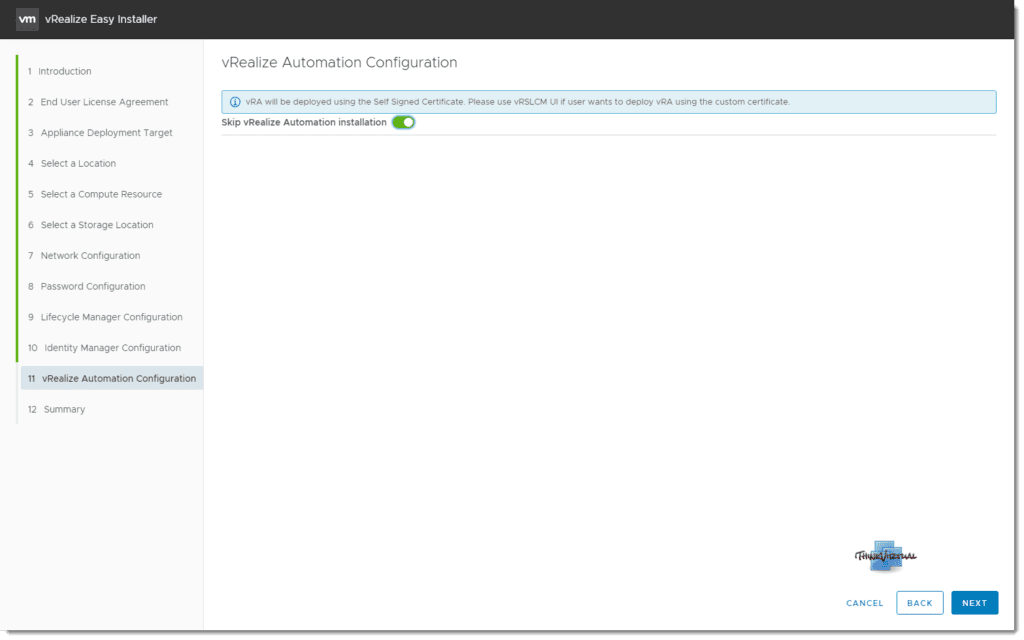
- Click Next. With easy installer, you either import an existing VMware Identity Manager into vRealize Suite Lifecycle Manager or a new instance of VMware Identity Manager can be deployed. For new VMware Identity Manager installation through easy installer only VMware Identity Manager 3.3.1 is allowed. This is a mandatory step for a vRealize Suite Lifecycle Manager deployment. vRealize Automation installation is optional and I am choosing to Skip this installation at this time.
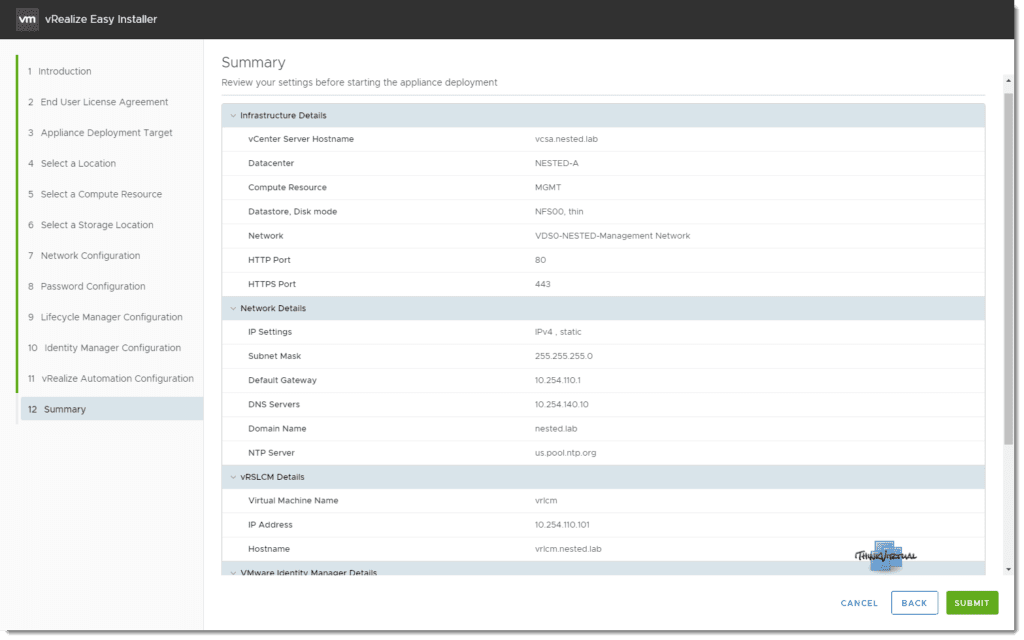
- Review the summary page that contains the vRealize Suite Lifecycle Manager, VMware Identity Manager, and vRealize Automation installation details and click Submit.
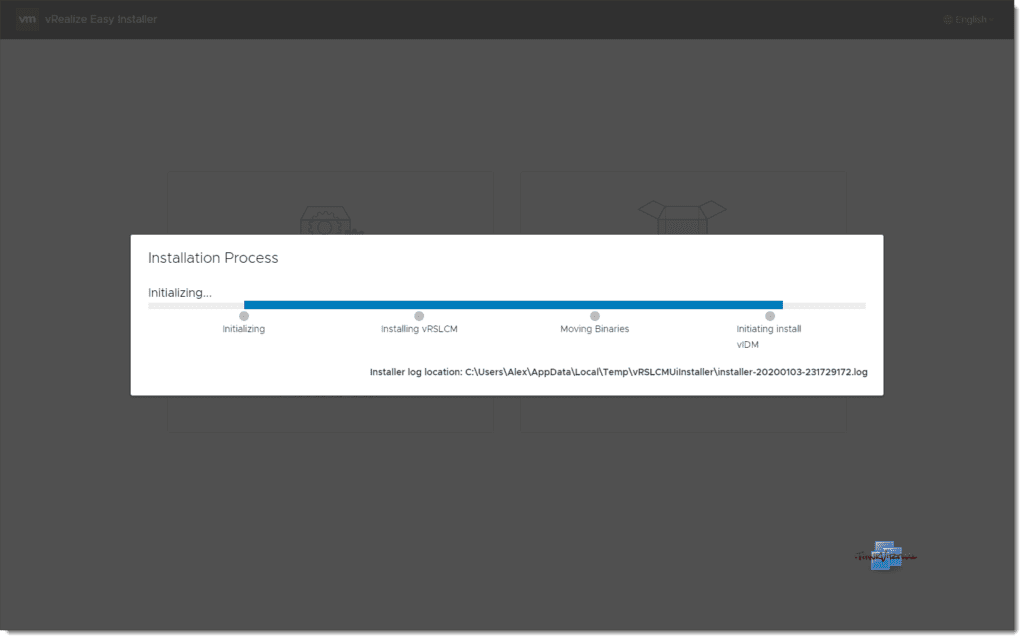
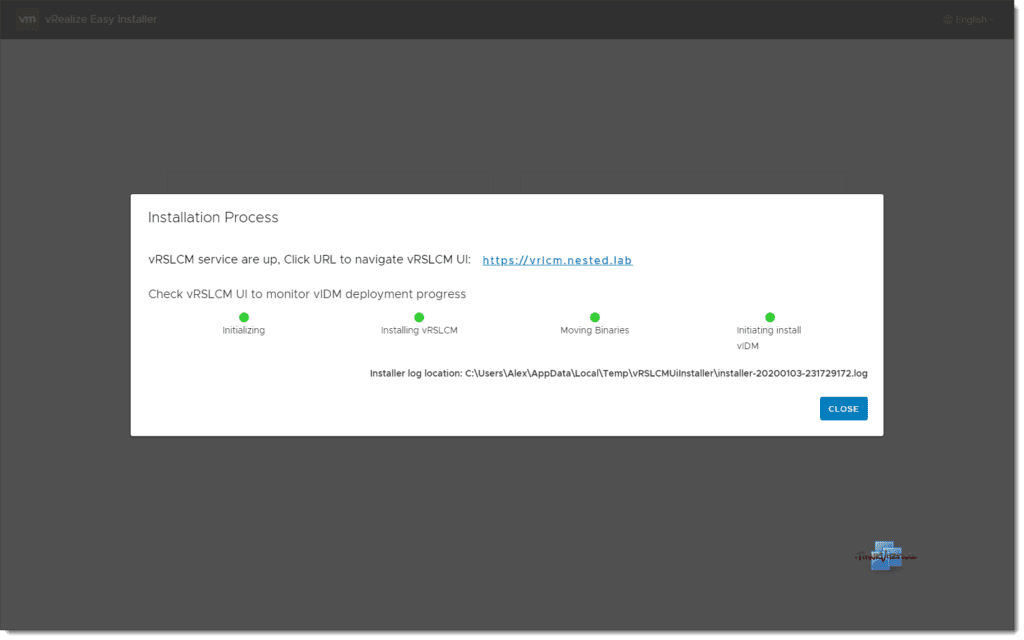
The installation will now begin to deploy vRealize Suite Lifecycle Manager followed by Workspace One Access, formerly known as VMware Identity Manager. This will take some time to complete but once it’s done, you can now login to both applications using the credentials specified in the Easy Installer.
Entending Storage Volume
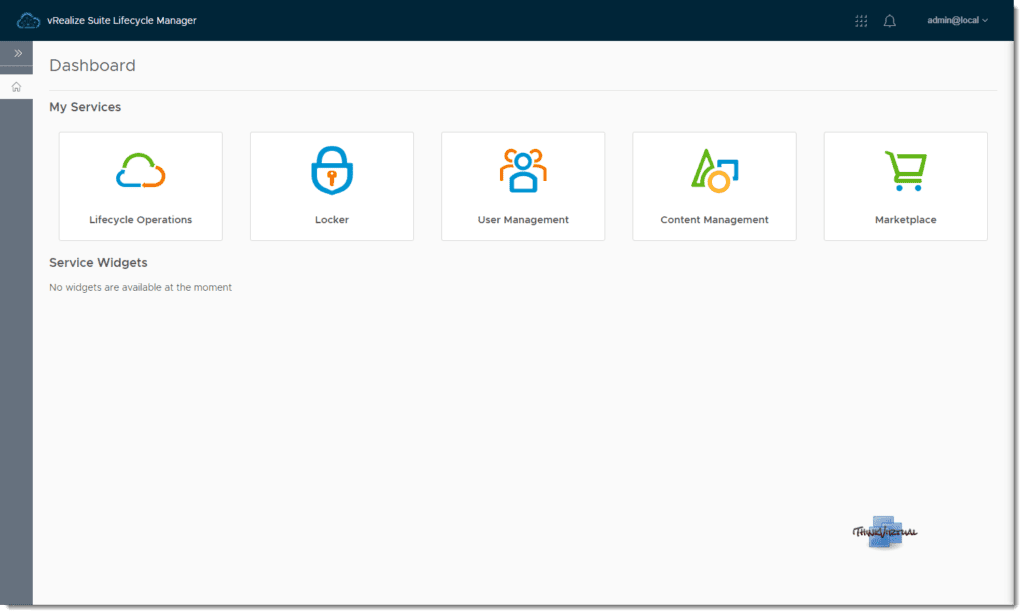
Now, before installing any additional solutions, we first need to increase the storage where vRealize Lifecycle Manager stores the binaries and then import the binaries for each of the solutions we’re going to deploy with vRSLCM. When first logging into vRealize Suite Lifecycle Manager, you’ll see the following dashboard.
Procedure
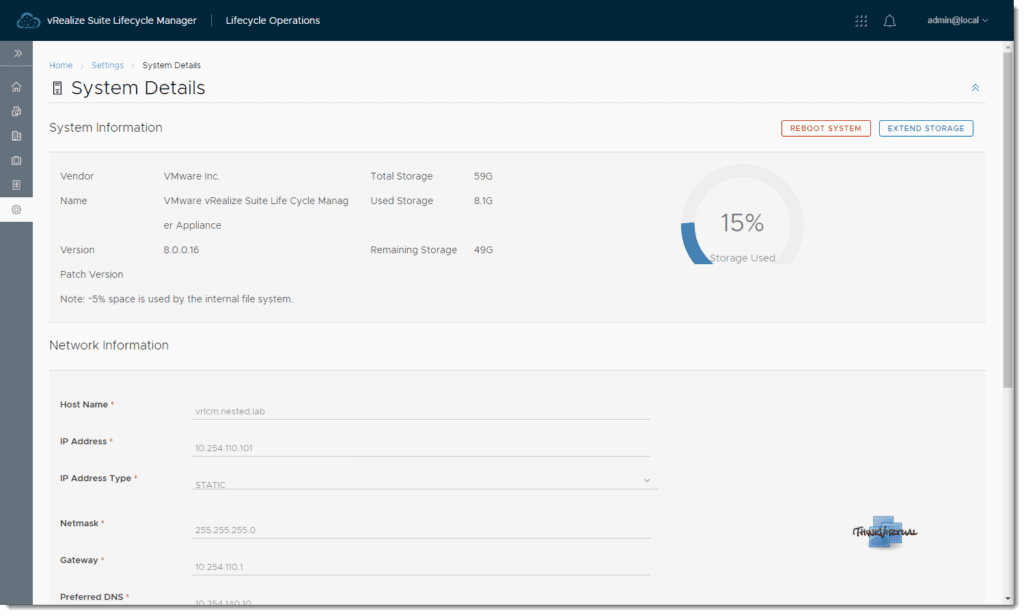
- Click Lifecycle Operations, then click the gear icon on the left side to enter the Settings menu.
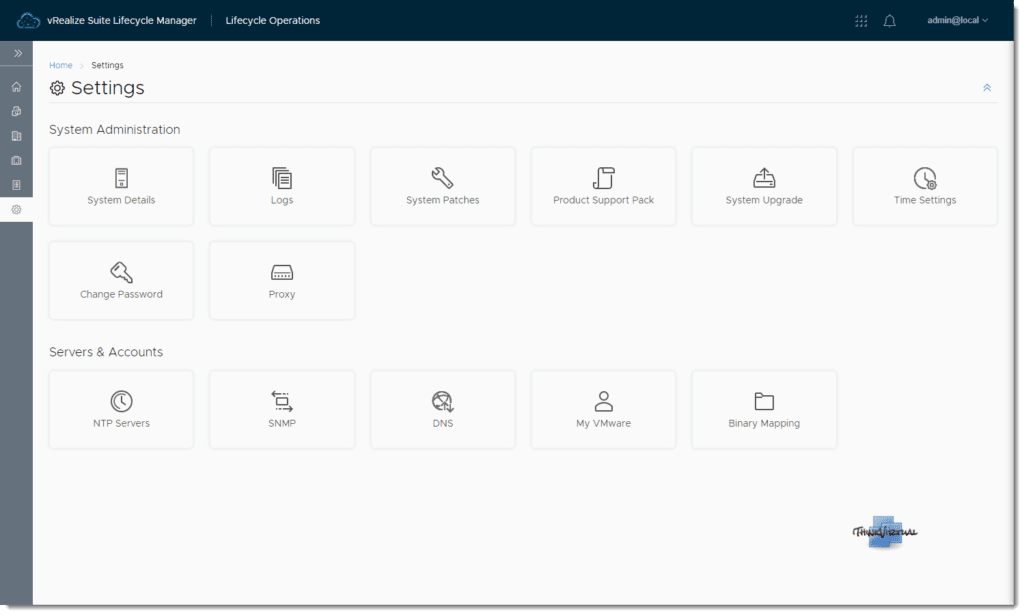
- Click System Details, and you can see that by default, the storage is set to 20GB.
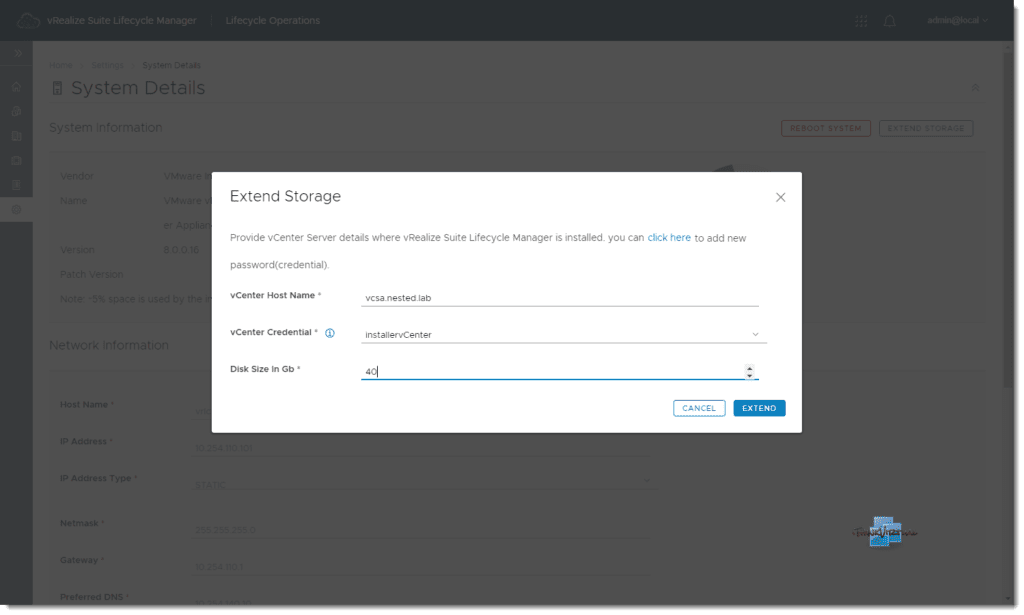
- I’m going to add 40GB to it so I have enough storage space to house the other product binaries.
- Click Extend Volume.
- Enter the vCenter Server Host Name, select the correct Credential, and enter the amount in GB that you’d like to add and click Extend. Allow some time for the request to complete and refresh the page if necessary. Once it completed, we can see that the volume has been increased.

Add Product Binaries
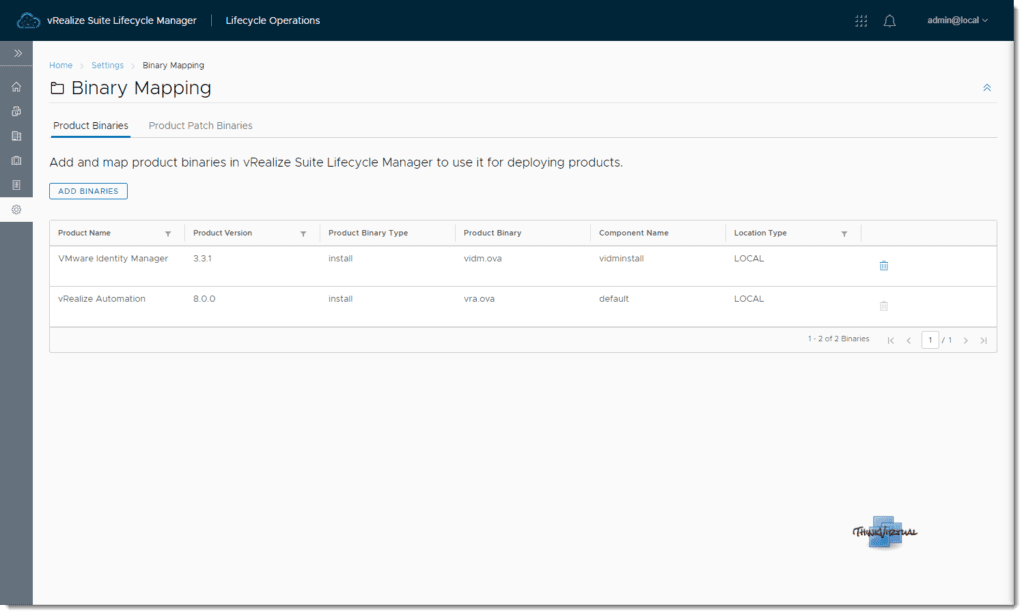
Before I can deploy any product other than VMware Identity Manager and vRealize Automation, I need to configure the binary mapping for those additional products. The two products I mentioned before are already mapped as they come with the Easy Installer.
Procedure
- From the Settings menu, click Binary Mappings, then click Add Binaries.
- Select your Location Type, and provide the Base Location path to the shared folder and click Discover.
- There are a few options you can choose from here and I’m going to select NFS since I’ve already placed the binaries in an NFS shared folder.
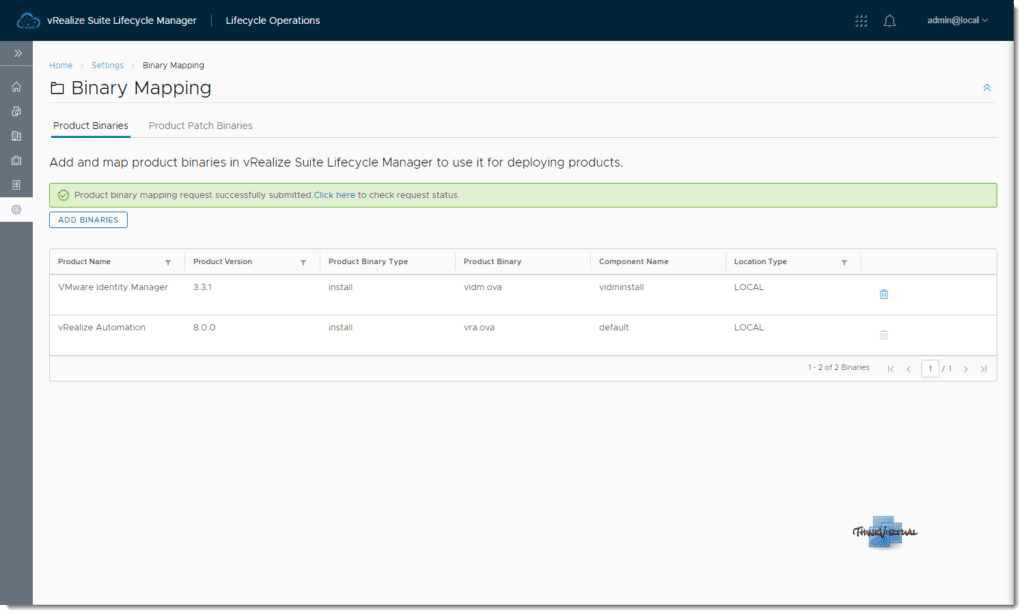
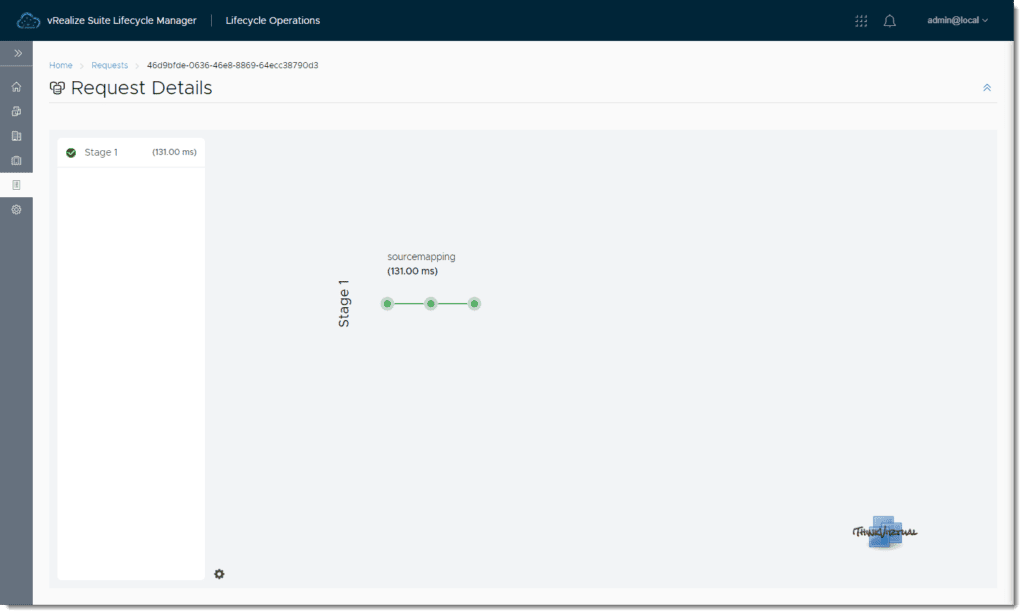
- Once it’s discovered the binaries, select the ones that you want to map and click Add. Allow some time for this to complete and if you’d like, monitor the Request Status until you see it has completed.
- At this time, I’m not selecting any of the v8.0.1 upgrade binaries. I’ll add them at a later time.


Conclusion
In the next one, I’ll quickly cover accessing the Workspace One Access (VMware Identity Manager) deployment and configure it so that we can use an Identity Manager account to login to vRealize Suite Lifecycle Manager and the other solutions I’ll be deploying in this series.
Well, I hope that you’ve enjoyed this post and hopefully you’ll be back for more. Thanks for reading!
Comments