Create an ESXi 6.7 VM Template
Disclaimer: The following is not supported by VMware.
Nested virtualization is nothing new, and many of us use it for test or demonstration purposes since they can quickly be stood up or torn down. William Lam has an ESXi VM which can be downloaded from here, but I wanted to go ahead and create my own for use within my nested lab environments.
In this post, I am going to show you the steps I ran through to create an ESXi 6.7 VM that I can convert to a template for later use. Props to William for his excellent content on nested virtualization, which I’ve used a ton and will be leveraging here as well. So without further ado, let’s get to it!
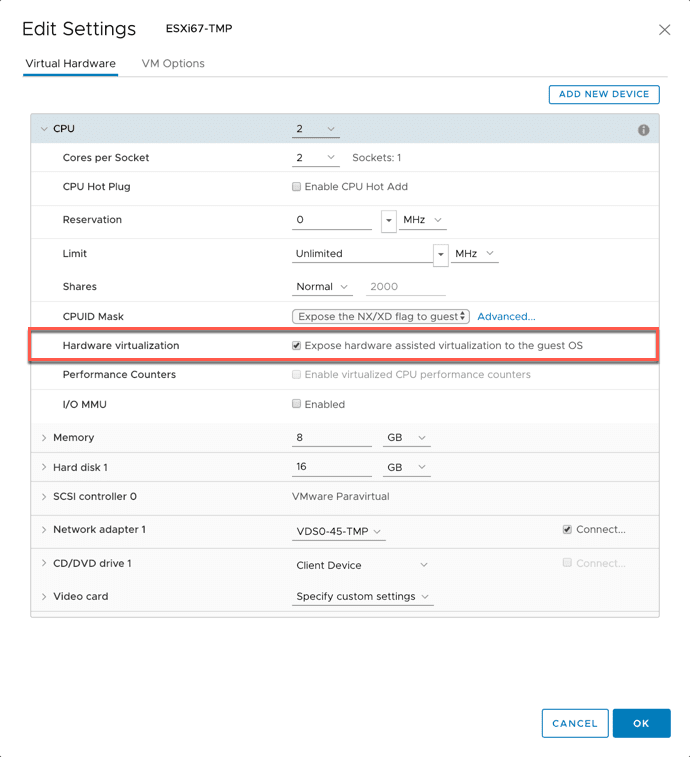
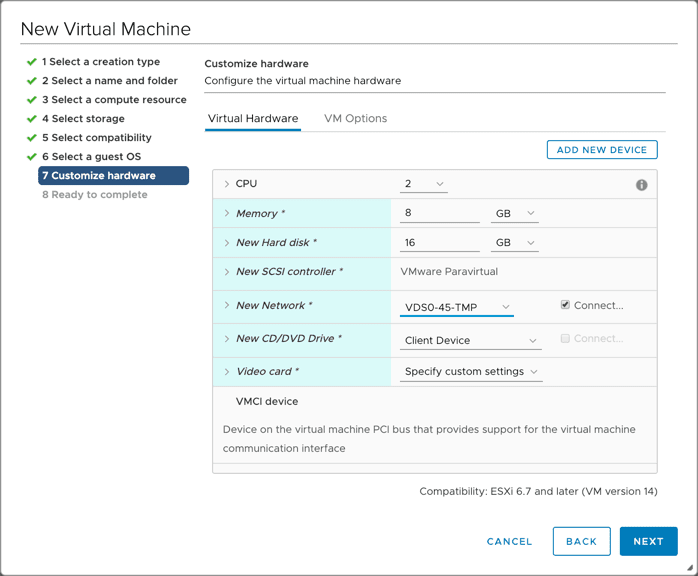
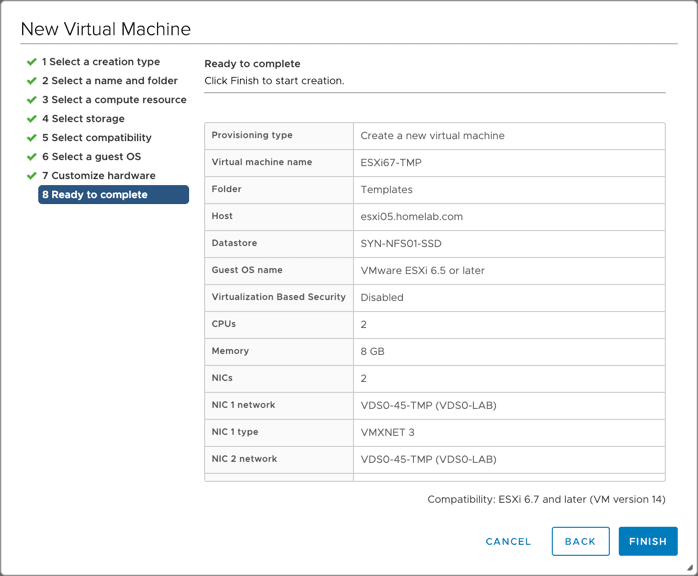
For my ESXi VM, I will be configuring the following:
- CPU: 2 (Expose hardware assisted virtualization to the guest OS - checked on)
- RAM: 8GB
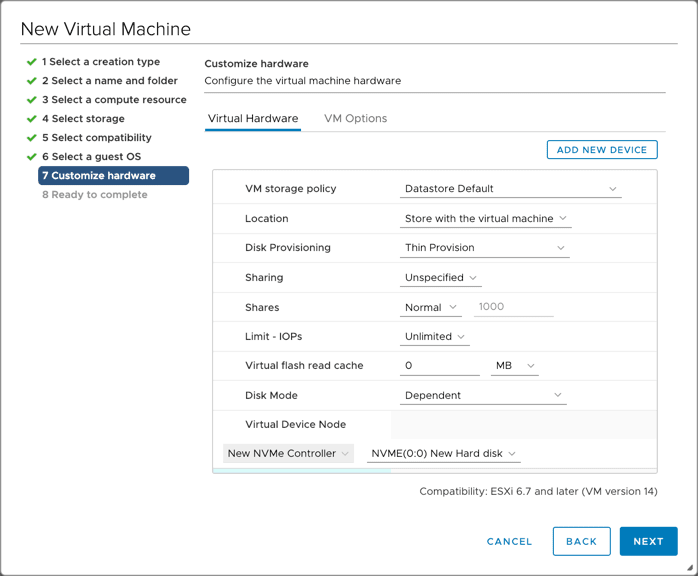
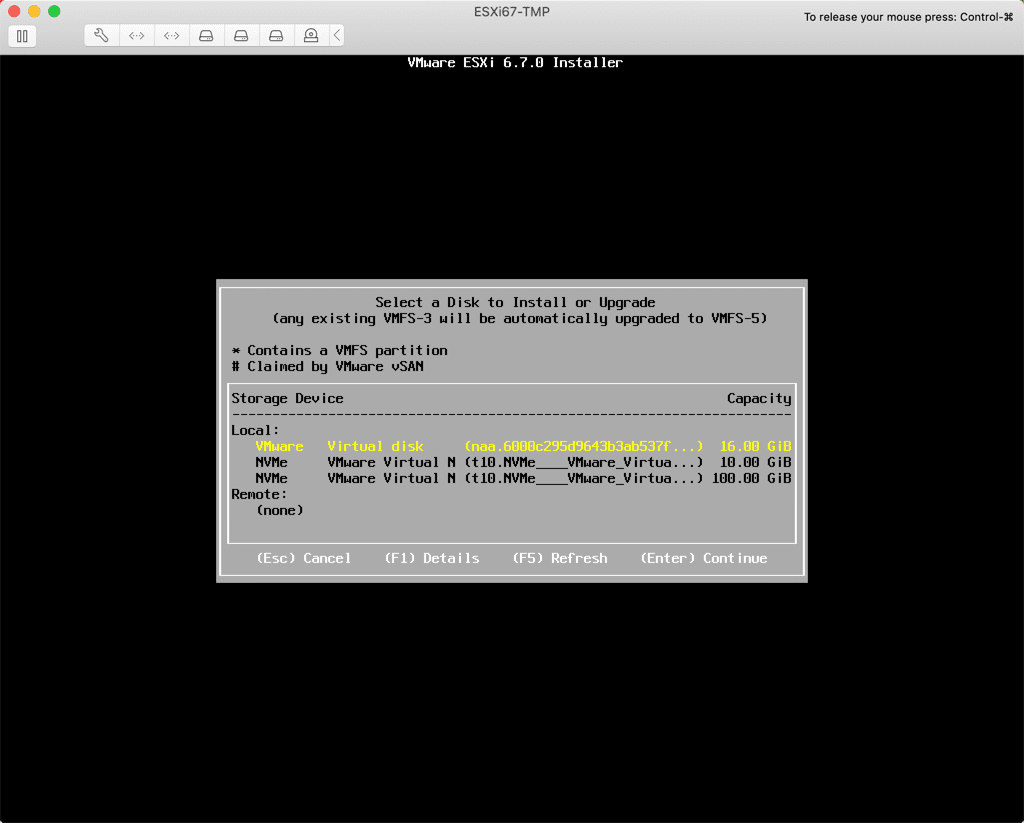
- Disk0: 16GB (bound to the default SCSI controller; thin provisioned)
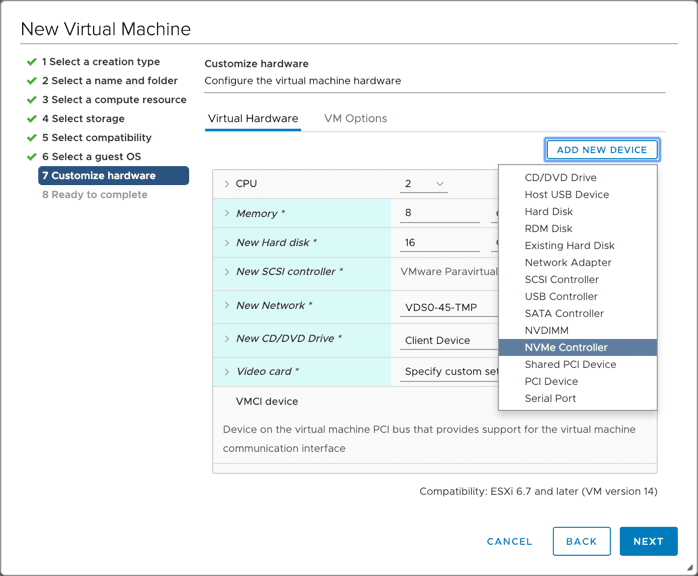
- New virtual NVME Controller
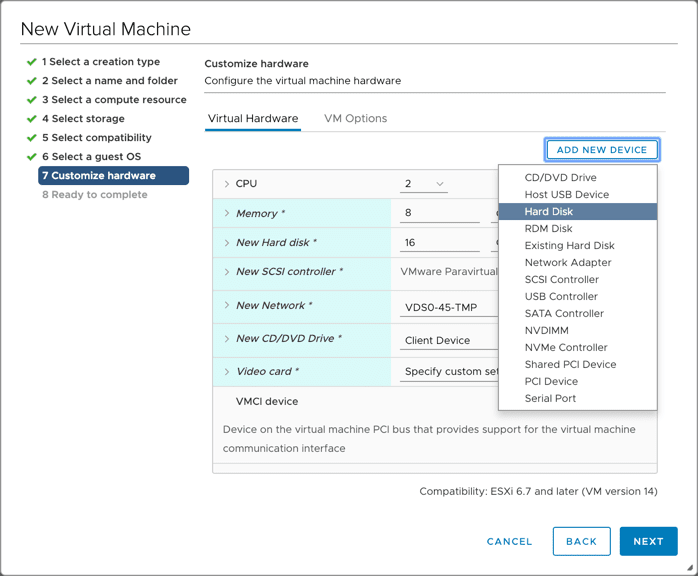
- Disk1: 10GB (for VSAN cache tier bound to NVME Controller; thin provisioned)
- Disk2: 100GB (for VSAN capacity tier bound to NVME Controller; thin provisioned)
- 2x Network Adapters (VMXNET3)
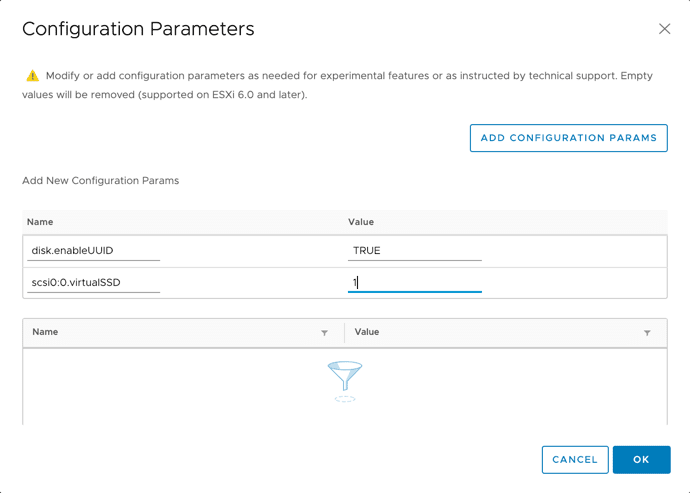
- Some advance configuration settings
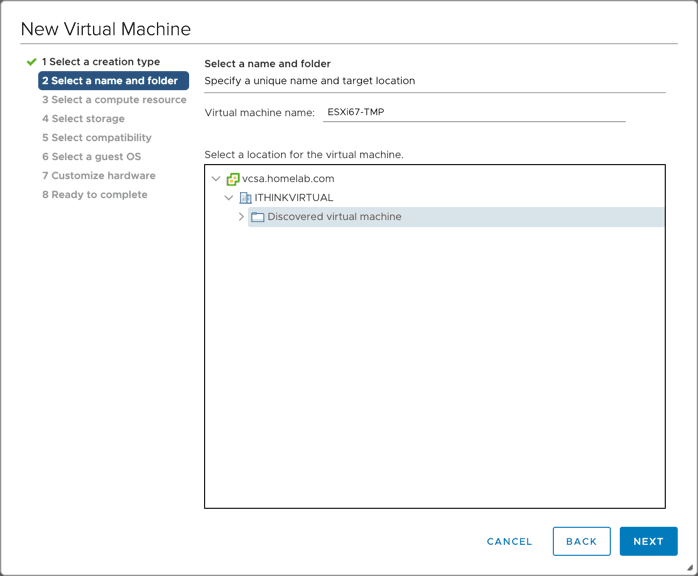
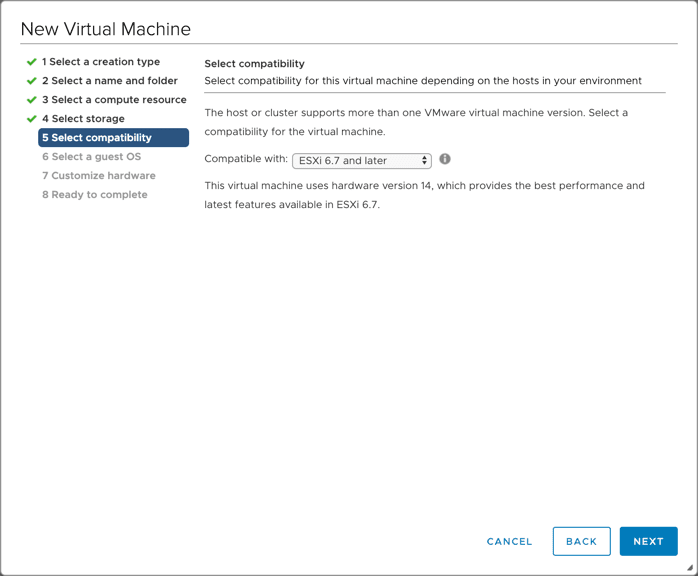
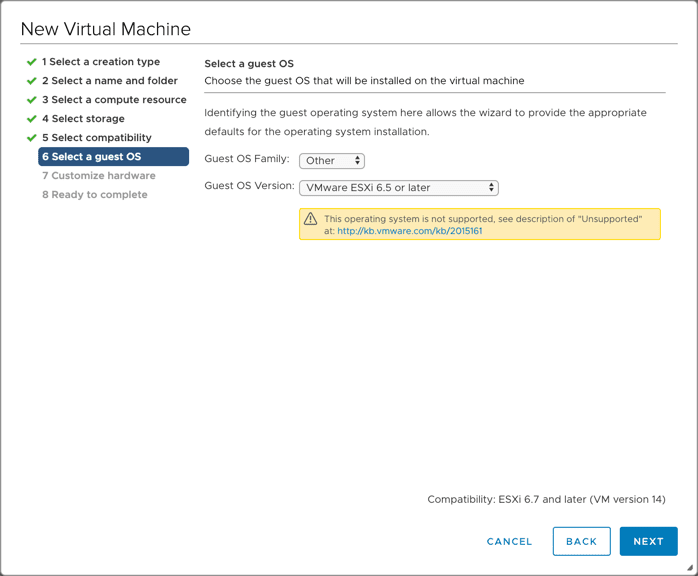
Build the VM as follows:


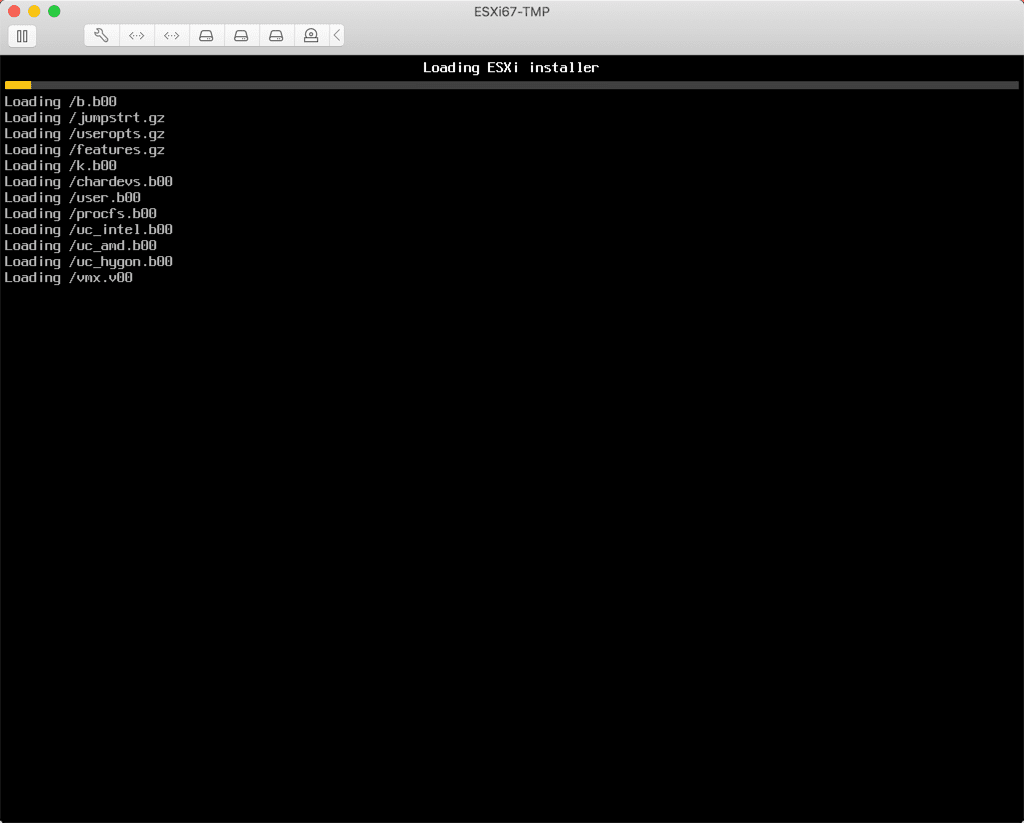
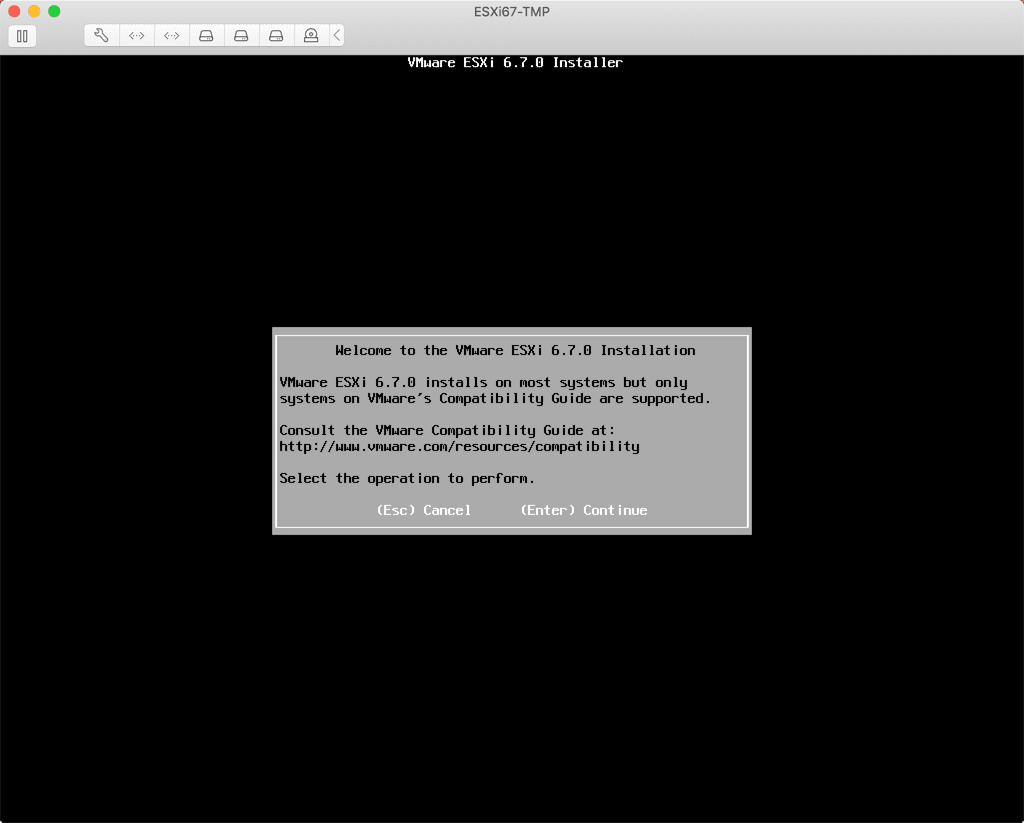
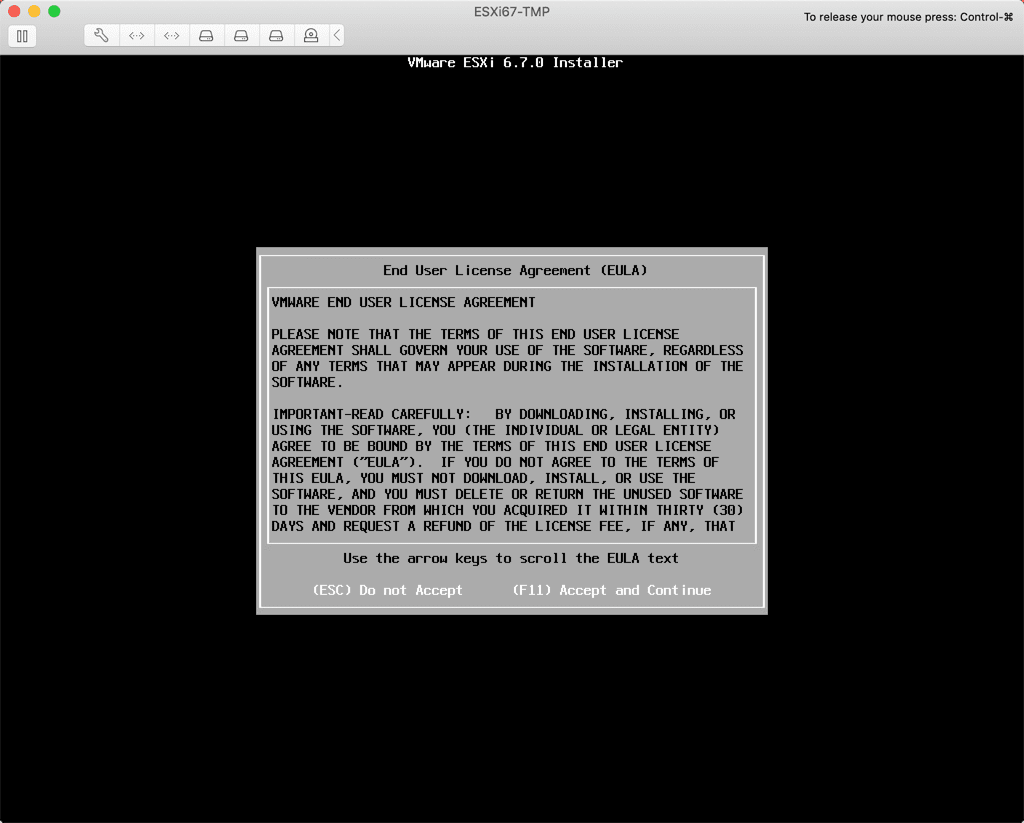
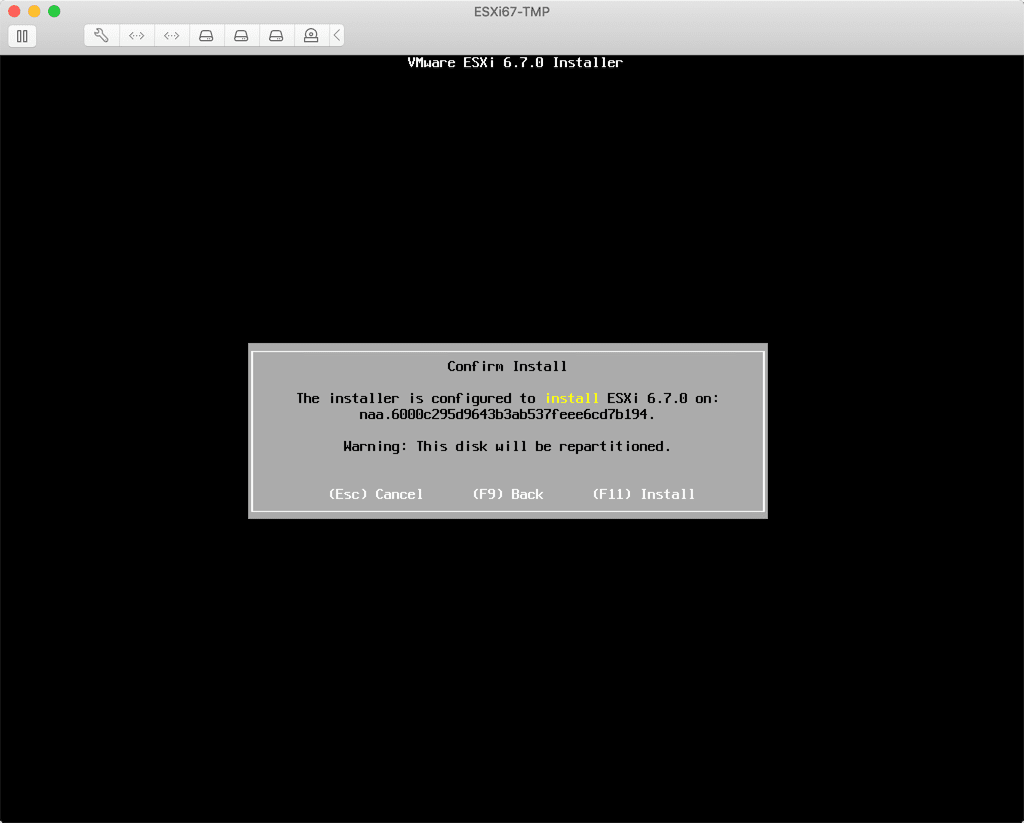
Be sure you connect the ESXi installation media and power on the VM to begin the installation.

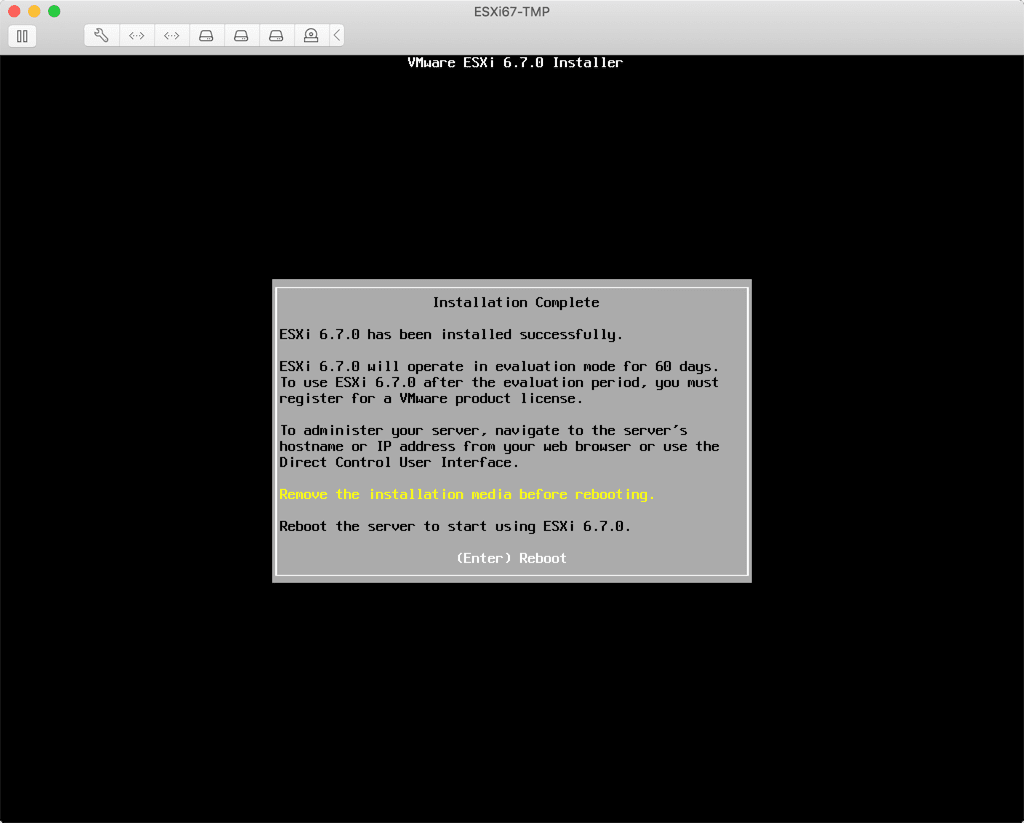
Once the VM powers back on, log in and enable SSH so that we can run some additional commands to update the OS and prepare it for cloning use

At the time of this writing, the latest version is Build 11675023 as per profile used below, be sure to change the profile number
esxcli network firewall ruleset set -e true -r httpClient
esxcli software profile update -p ESXi-6.7.0-20190104001-standard \
-d https://hostupdate.vmware.com/software/VUM/PRODUCTION/main/vmw-depot-index.xml
esxcli network firewall ruleset set -e false -r httpClient
To prepare the VM for cloning use, run the following:
esxcli system settings advanced set -o /Net/FollowHardwareMac -i 1
sed -i 's#/system/uuid.*##' /etc/vmware/esx.conf
./sbin/auto-backup.sh
At this point, you can shutdown the VM and convert it to a template for cloning use.
After cloning a VM, if you plan on joining it to a vCenter Server you will need to run the following on each cloned instance via SSH.
esxcli storage vmfs snapshot resignature -l datastore1
Well, that about does it! Hope you all enjoyed this post!
-virtualex-
References:
Comments