Install PowerShell and VMware PowerCLI on CentOS
Just a few days ago, PowerShell Core v6.0 was released for Windows, Linux, and macOS systems. Alongside this release came the release of VMware PowerCLI 10.0.0.78953 which is VMware’s own “PowerShell-like” utility.
In my previous post, I covered how to install those on to a macOS 10.13.x “High Sierra” system. In this post, I am going to show how to install both on to a CentOS 7 system as this is the distro I mostly use in my environments. I may follow this up with an Ubuntu install version. Anyway, let’s get to it!
There is a prerequisite needed before PowerShell can be installed on CentOS and that is to add the PowerShell Core repository (recommended) to your CentOS system.
sudo curl https://packages.microsoft.com/config/rhel/7/prod.repo | sudo tee /etc/yum.repos.d/microsoft.repo
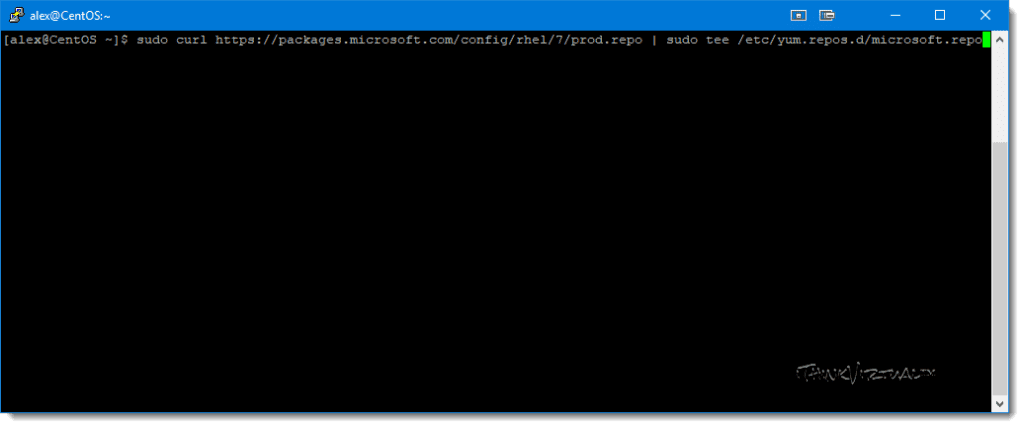
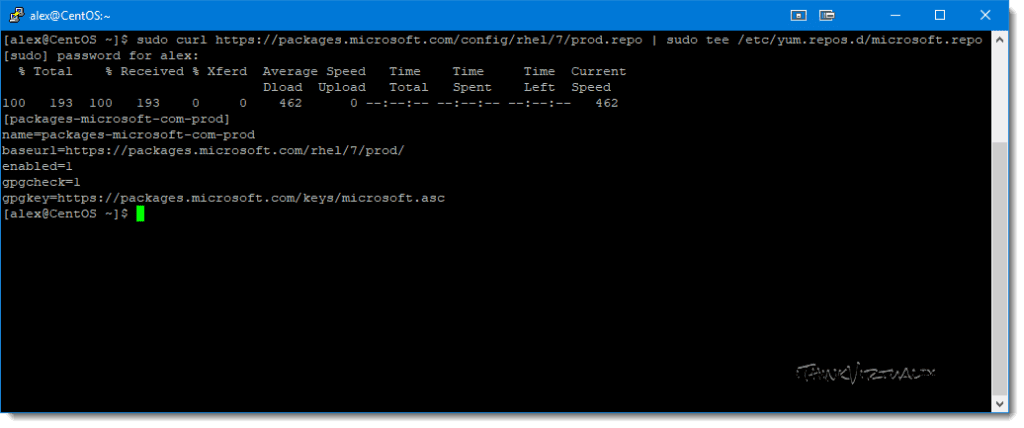
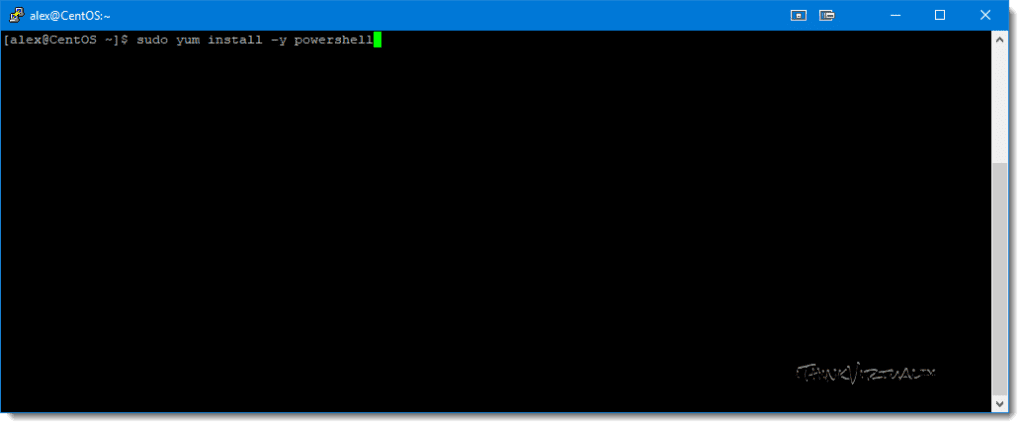
This will prompt you to enter your password since “sudo*“* is being used. Great! With the prerequisite complete, it’s time to install PowerShell Core 6.0.1. Run the following command to do so and enter your password when prompted.
sudo yum install -y powershell
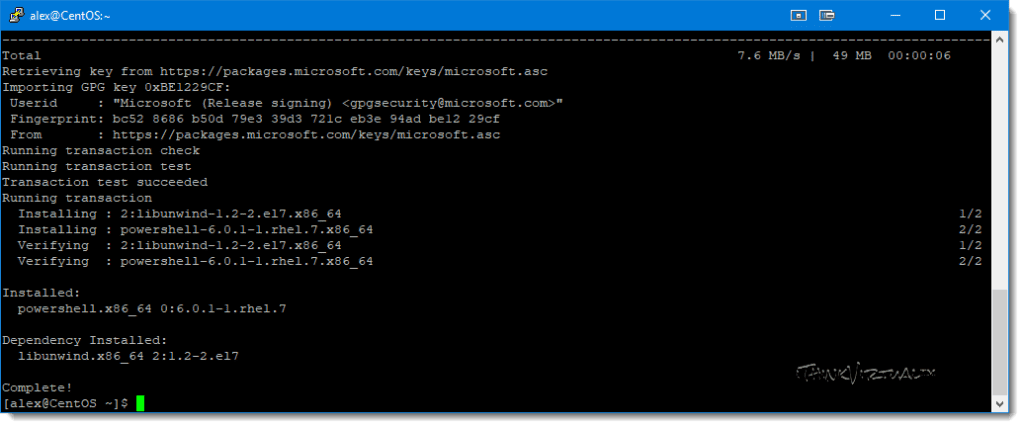
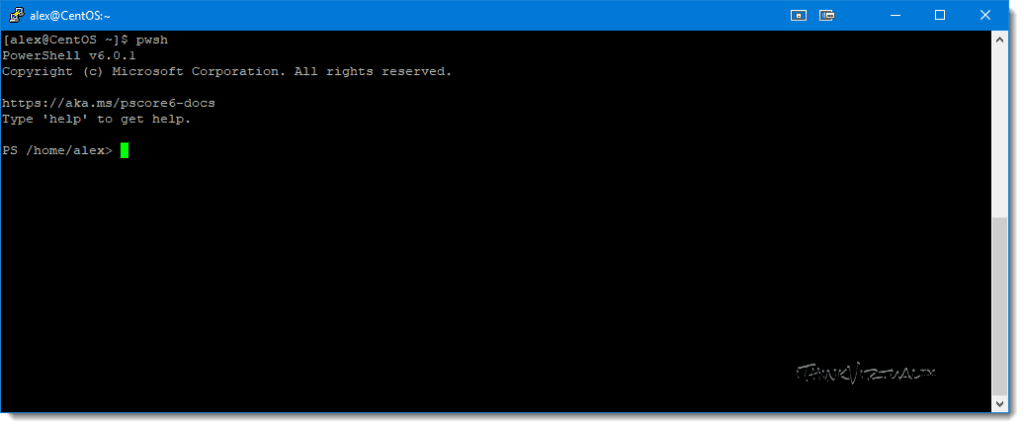
Awesome! Now, to launch a PowerShell session in CentOS, enter the following.
pwsh
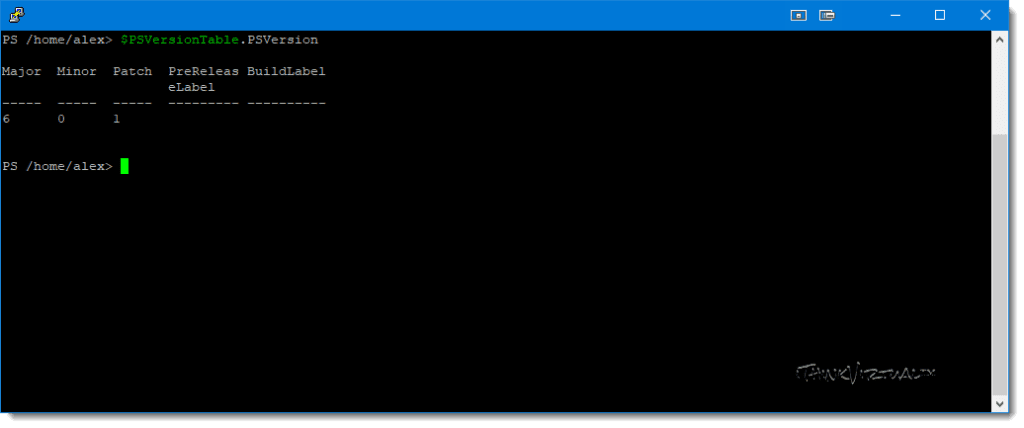
Within a PowerShell session, you can check the version of PowerShell by running the following.
$PSVersionTable.PSVersion
As new versions of PowerShell are released, simply update PowerShell by running the following command.
sudo yum update -y powershell
While leveraging the PowerShell Core repository is the recommended installation method, there are alternate methods as well. For more information on that along with uninstallation commands, please see the following link.
Congratulations! You’ve successfully installed PowerShell Core 6.0.1 onto CentOS! Next comes the fun stuff for us VMware enthusiasts, installing VMware PowerCLI from the “PSGallery”. Let’s continue!
Since VMware PowerCLI has moved from being its own native installer to the PSGallery, the PSGallery needs to be “Trusted” before anything from it can be installed. To trust the PSGallery, entering the following command in the PowerShell session.
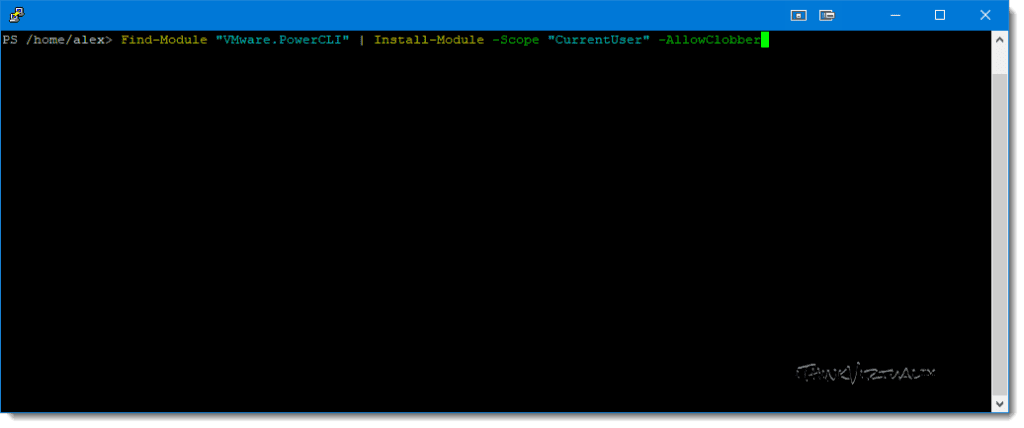
```powershell Set-PSRepository -Name "PSGallery" -InstallationPolicy "Trusted" ``` 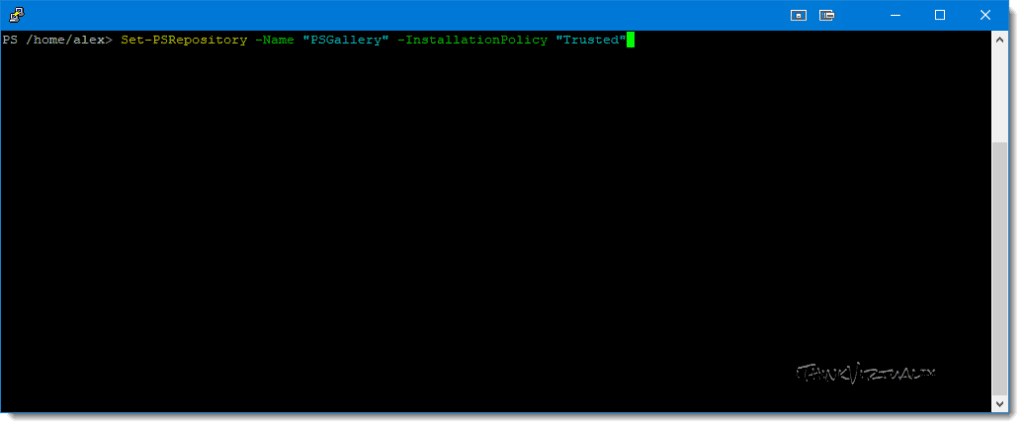Next, run the following command to install the VMware.PowerCLI module. This will find and install the latest version of the module available in the PSGallery
Find-Module "VMware.PowerCLI" | Install-Module -Scope "CurrentUser" -AllowClobber

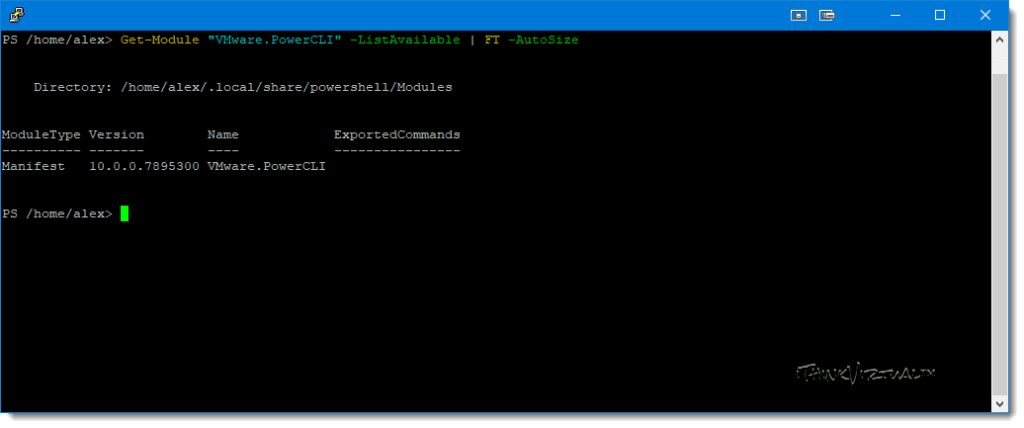
Once this finishes, we can check to make sure the module is installed by running the following command.
Get-Module "VMware.PowerCLI" -ListAvailable | FT -Autosize
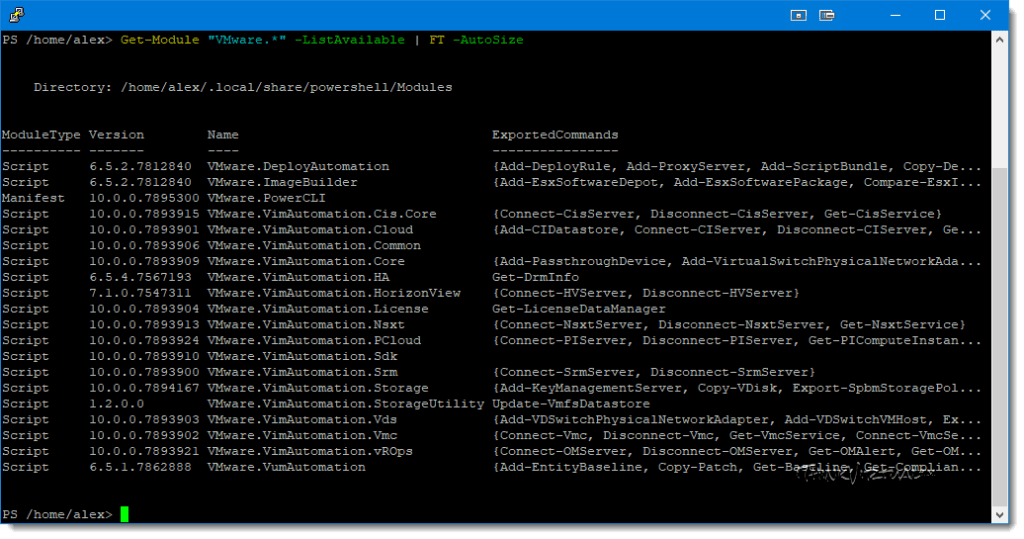
And if you’d like to see all of the VMware installed modules, run the following.
Get-Module "VMware.*" -ListAvailable | FT -Autosize
As new versions of VMware.PowerCLI are released, you can run the following command to update it.
Update-Module "VMware.PowerCLI"
With VMware.PowerCLI now installed, you can connect to your vCenter Server or ESXi host and begin using its cmdlets to obtain information or automate tasks!
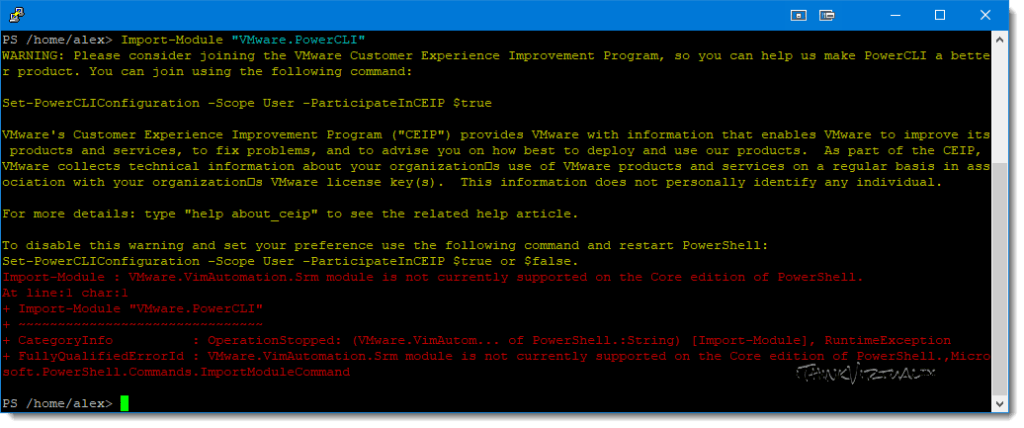
I went ahead and ran the following to ensure the module was imported.
Import-Module "VMware.PowerCLI"
I noticed one caveat, the SRM module does not seem to be supported in PowerShell Core, so I hope that gets resolved soon.
Let’s test connecting to vCenter server…
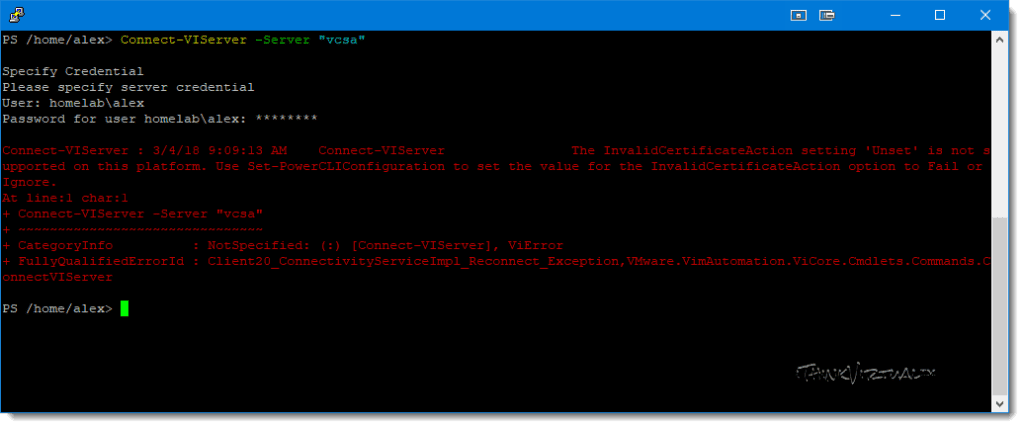
Connect-VIServer -Server "<Server_Name>"
I also noticed an error when running the above command stating that the “InvalidCertificateAction” setting was “Unset” and not supported.
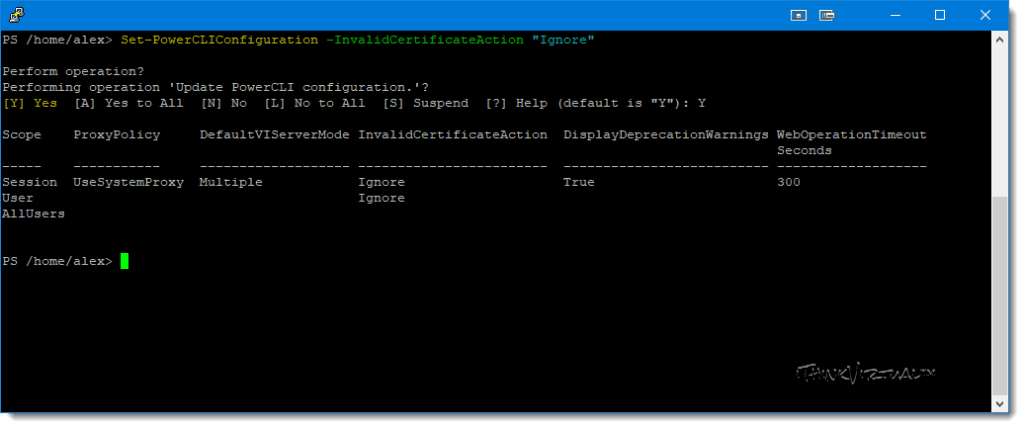
To bypass this, enter the following command and then enter “Y” when prompted. This will set the parameter for the current user.
Set-PowerCLIConfiguration -InvalidCertificateAction "Ignore"
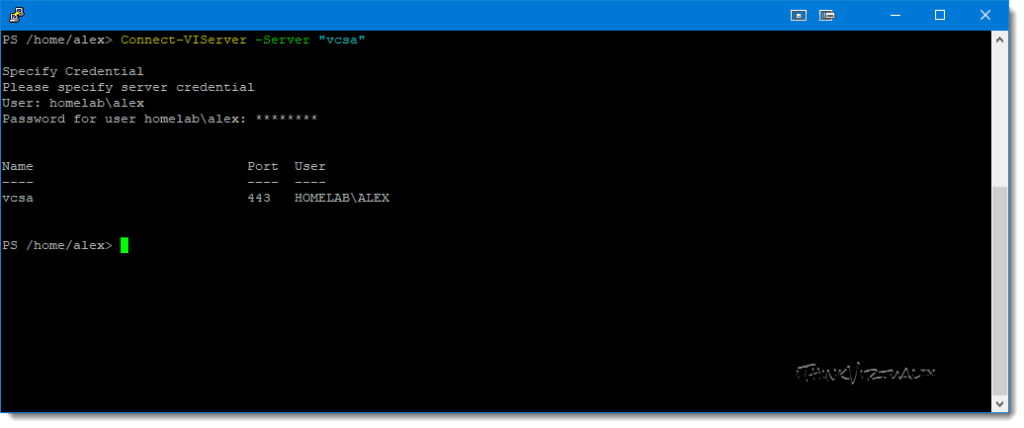
Now, if we try to connect to vCenter again, we should be successful.
Well, that about does it! I hope that you have found this post useful and I thank you for stopping by and reading my content. I’d like to give a shoutout to Jim Jones for his post on the same topic. Until next time!
-virtualex-
Comments