vSphere…Synology…NFS v4.1
Welcome, and thanks for visiting my blog!
In this post, I am going to cover how to enable NFS v4.1 on a Synology device and then mount and NFS v4.1 datastore in VMware vSphere 6.5. By default, Synology devices support NFS v4 natively, and although they can also support NFS v4.1, it is not enabled. Well, not to worry because I am going to show you just how to enable the feature on your device.
NFS v4 and v4.1 have been around for quite a few years but it has not taken off then way NFS v3 did way back when. There were some major flaws pointed out with NFSv4 so NFSv4.1 was created to rectify those flaws, and VMware was one of the first major companies to adopt and support the new Network File System. But unless your storage device supported the newer NFS versions, you would be stuck mounting NFSv3 volumes by default.
In this demo, I will be using my new replacement Synology DiskStation DS415+ and my homelab “datacenter” running the latest version vSphere 6.5. So let’s jump right in!
Using a terminal application like PuTTY, connect to your Synology device via SSH using an admin user account. This can be the default “admin” account and any new user account with Administrator privileges. Once connected enter the following command to change the directory:
cd /usr/syno/etc/rc.sysv
Once in this directory, run the following command (enter the account password if prompted):
sudo cat /proc/fs/nfsd/versions
This will show us the current NFS version currently enabled and supported by the Synology device.
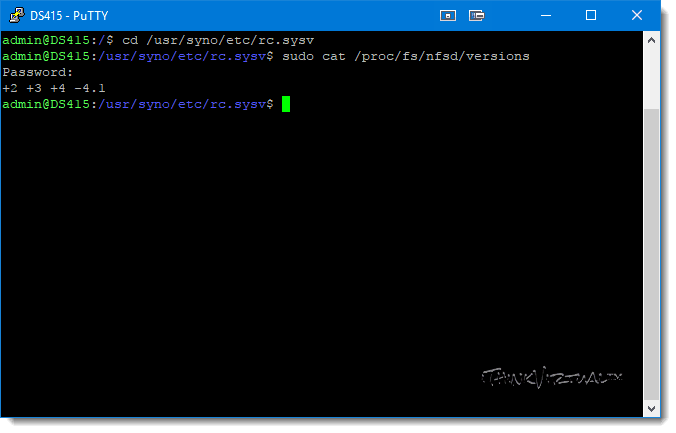
We can see that all versions prior to 4.1 have a “+” sign next to them and 4.1 has a “-” sign next to it. Let’s change that!
In order to change this, we will need to edit a shell (S83nfsd.sh) file using “vi”. Run the following command to open the file with VI Editor:
sudo vi S83nfsd.sh
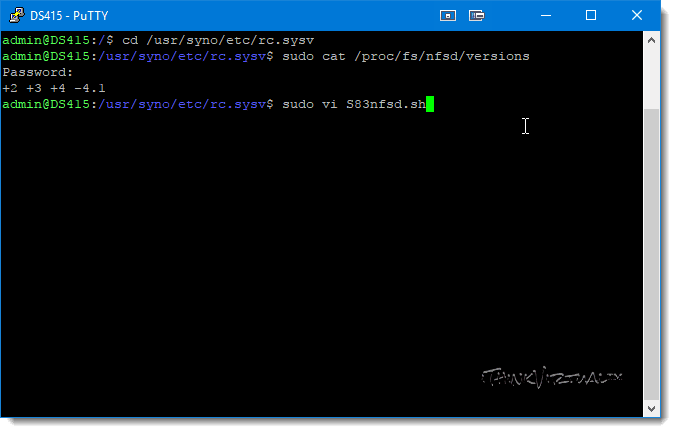
This will open the shell file and will place the cursor at Line 1, Character 1 as depicted in the following screenshot.

Navigate down to line 90 using the down arrow and you will see the following line of text.
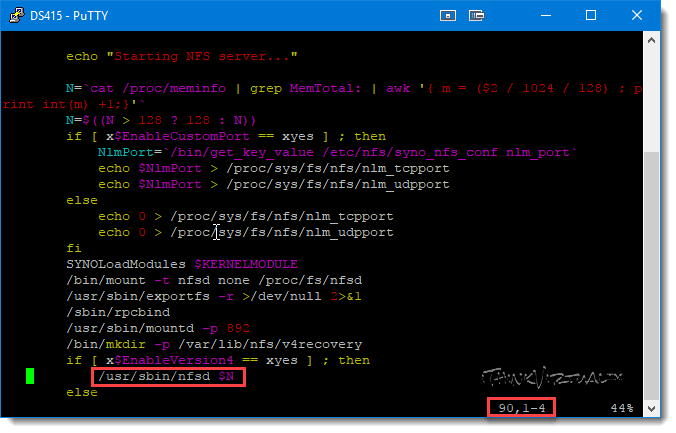
This is where the magic happens! To edit the file now, press the “I” key on your keyboard to initiate an “Insert” then add the following to the end of the text so the line looks like the following screenshot.
-V 4.1
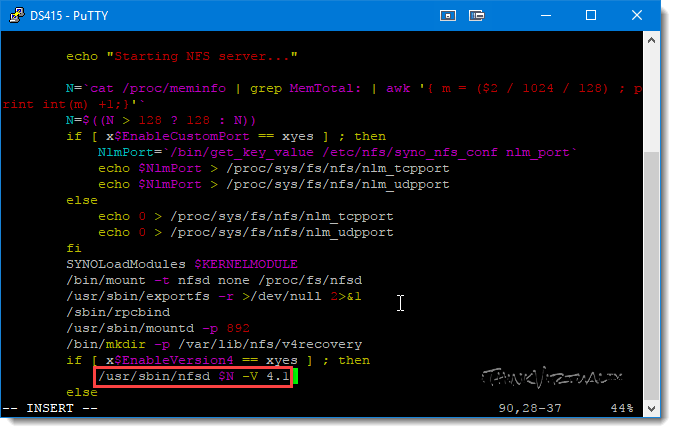
To commit and save this change, first press the Esc key. Next type the following command and hit “Enter” to write and then quit vi editor.
:wq

Next, we need to restart the NFS service. To do so enter the following command:
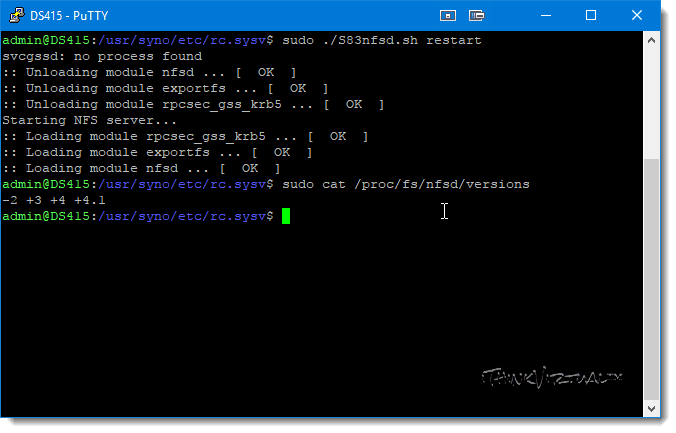
sudo ./S83nfsd.sh restart
If we again run the following command, we will see that there is now a “+” sign next to 4.1. Hooray!
sudo cat /proc/fs/nfsd/versions
Now that we have enabled NFSv4.1 functionality on your storage device, let’s go ahead and mount an NFS volume to our hosts in vSphere.
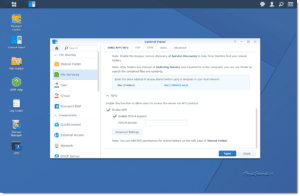
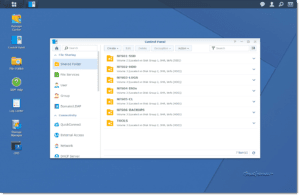
I have enabled NFS and NFS v4 support then created the following shares with assigned permissions on my device, and am going to mount the ISOs share first in this example by issuing a command via PowerCLI. We can also see that I do not have any NFS mounts currently in my environment
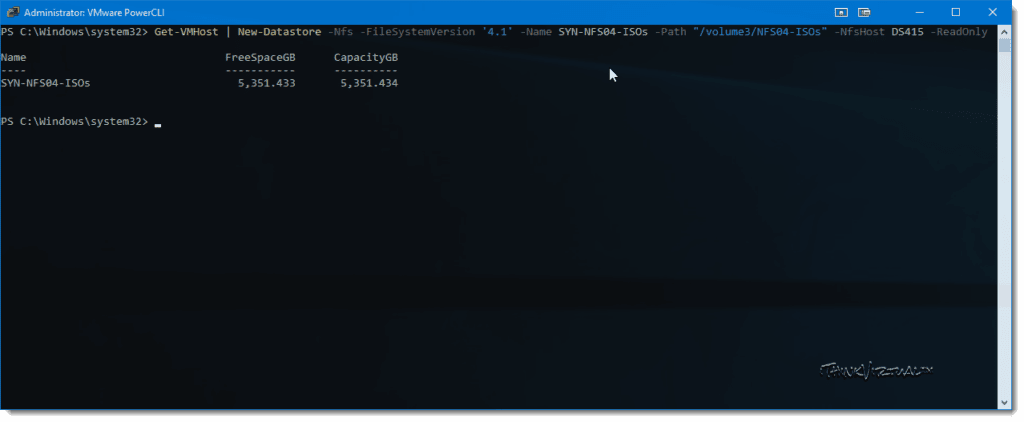
I’ve launched PowerCLI and connected to my vCenter Server using the Connect-VIServer cmdlet then issued the following command:
Get-VMHost | New-Datastore -Nfs -FileSystemVersion '4.1' -Name SYN-NFS04-ISOs -Path "/volume3/NFS04-ISOs" -NfsHost DS415 -ReadOnly
Note: an important argument here in the “-FileSystemVersion”. If I do not specify the version, it will assume version 3.0 by default.
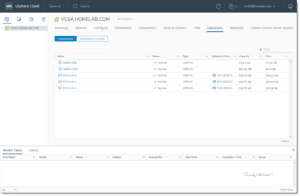
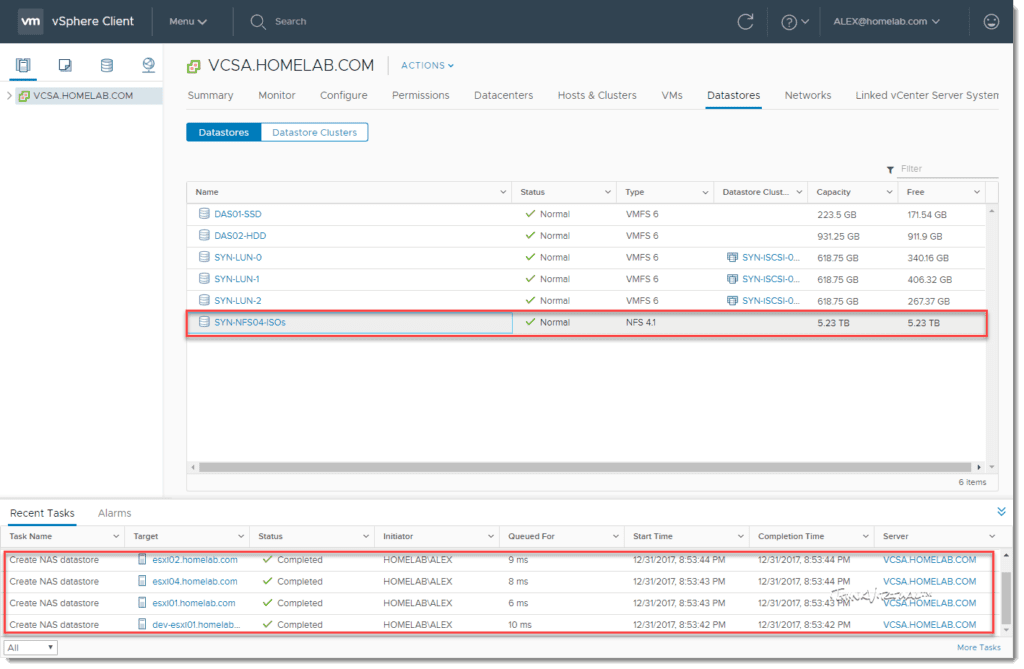
If I go back and look at my datastores via the Web Client, I can see that my new NFS 4.1 datastore has been mounted to each one of my ESXi hosts. Nice!
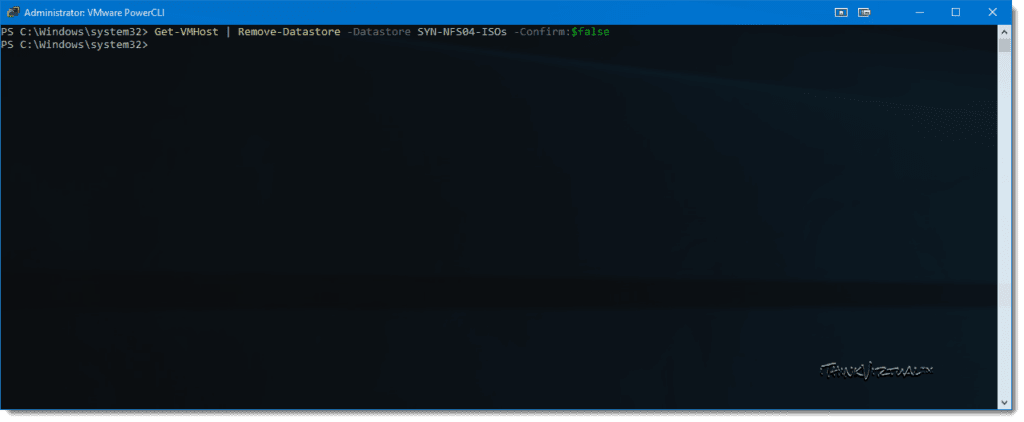
Bonus: If I’d like to easily remove this datastore from all of my hosts, I can issue the following command via PowerCLI.
Get-VMHost | Remove-Datastore -Datastore SYN-NFS04-ISOs -Confirm:$false
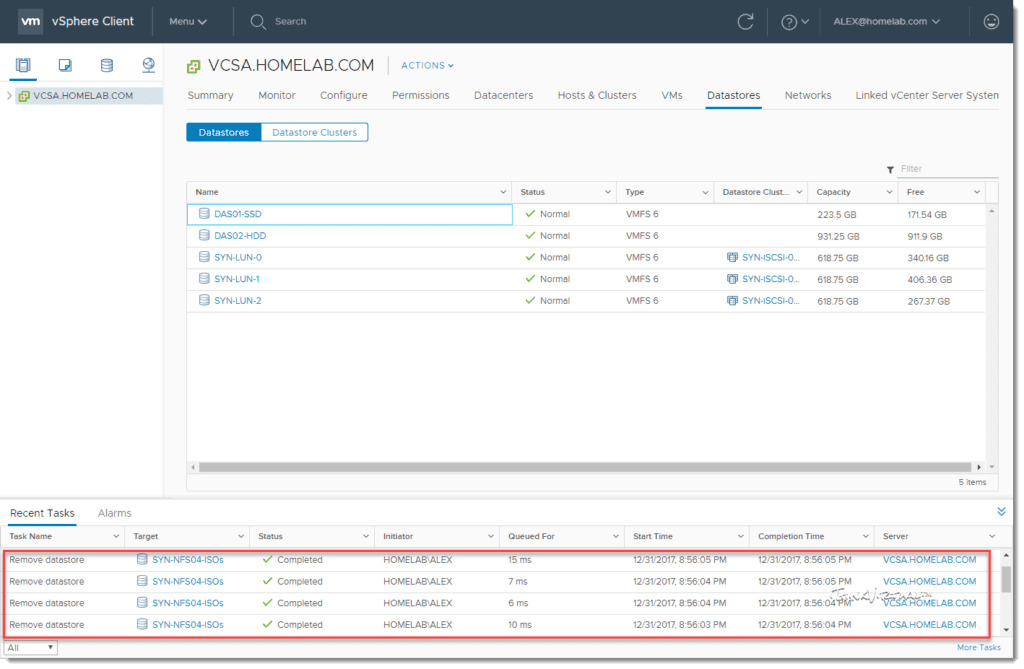
Now I can see that the host has been removed successfully!
Well, that about wraps this one up. I hope that this has been useful and informative for you and I’d like to thank you for reading! Until next time!
-virtualex-
Comments