macOS 10.13 High Sierra on ESXi 6.5
NOTE: This is completely for experimental purposes and is unsupported by both Apple and VMware
Hello all! This is just a quick follow up to my previous guide on running macOS 10.12 Sierra on ESXi 6.x, where I have now successfully updated the VM to macOS 10.13 High Sierra.
If you simply try to run the upgrade via a self-made ISO, or via the Mac App Store, the final image will fail to boot. The reason being is because starting with macOS 10.13, Apple has converted the file system from Hierarchical File System Plus (HFS Plus orHFS+) to the new Apple File System (APFS). During the upgrade process, the HFS+ will be converted to APFS, and the unlocker utility which allows us to even run a macOS VM on ESXi doesn’t support APFS. In fact, support for ESXi, in general, is no longer available in the latest Unlocker 2.1.1 so I am still using the Unlocker 2.1.0 for ESXi, and Unlocker 2.1.1 for VMware Workstation 14.
For this quick tutorial, I am using the latest VMware ESXi 6.5 Update 1 Build 7388607 and I started by simply cloning my macOS 10.12 VM to a new virtual machine.

Once powered on, go to the Mac App Store and download the macOS High Sierra installation. When the download is complete, DO NOT run the installer and quit it instead. You will now have the installer application available in your Applications folder.
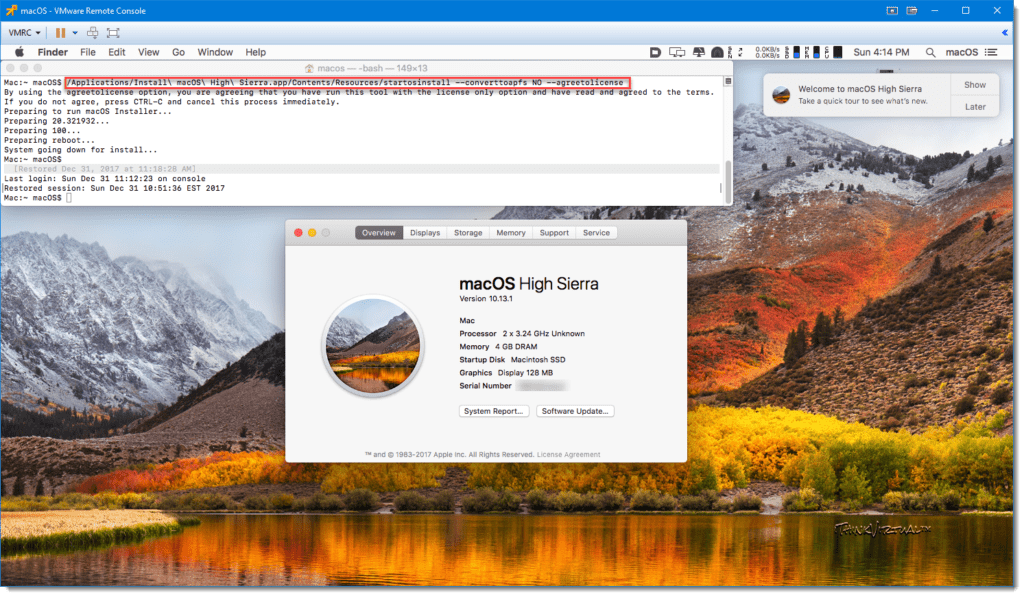
Now, open a Terminal session and enter the following command as one line. Depending on the account you’re are logged in with, sudo may or may not be needed.
sudo /Applications/Install\ macOS\ High\ Sierra.app/Contents/Resources/startosinstall --converttoapfs NO --agreetolicense --nointeraction
The key argument here is the “–converttoapfs NO” which prevents the OS from converting the drives file system format from HFS+ to APFS. Additionally, the “–nointeraction” argument is optional.
Now sit back, relax, and let the upgrade do its thing. When the upgrade is complete, the VM should have successfully booted up and you will now be running macOS High Sierra.

-virtualex
Comments